
IBM Endpoint Manager Software Usage Analysis (otherwise known as IEM SUA) allows you to easily determine what software is deployed across your organisation and how actively it is being used on each computer. With SUA you can easily determine whether you’re effectively using more expensive software such as Microsoft Project or Visio on all of your computers. IEM SUA is not only useful to improve the efficiency of your software but also substantially reduce the amount of work required for software compliance audits.
In the following article, I’ll step you through the installation of SUA 1.3.
Install and Configure the SUA 1.3 Server
To get started, download the SUA 1.3 server software from this web site. http://support.bigfix.com/dss/install/downloaddsssam.html For small environments you could easily run this on the IEM server itself.
- Run the SUA installer exe. Select Next, Accept the licensing terms and click Next
- Select the SUA folder installation and click Next, click Install
- Once the install is completed click Finish
- Once SUA has been installed, the configuration wizard will automatically after after a few seconds. Click Next
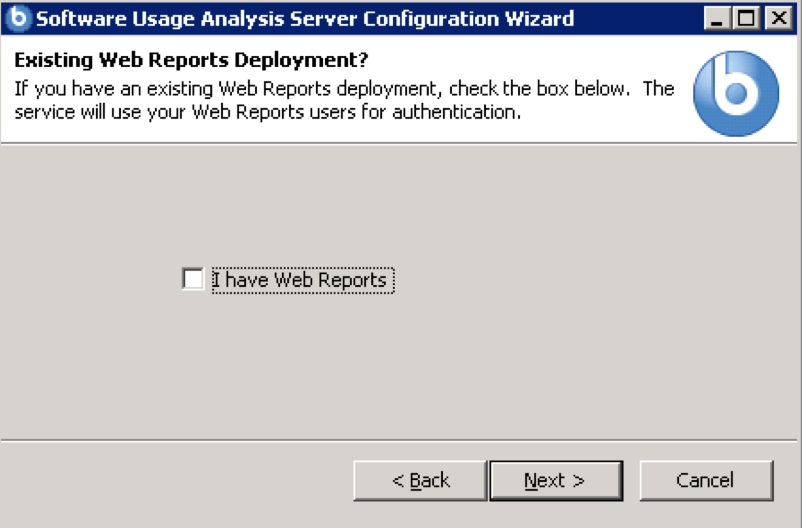
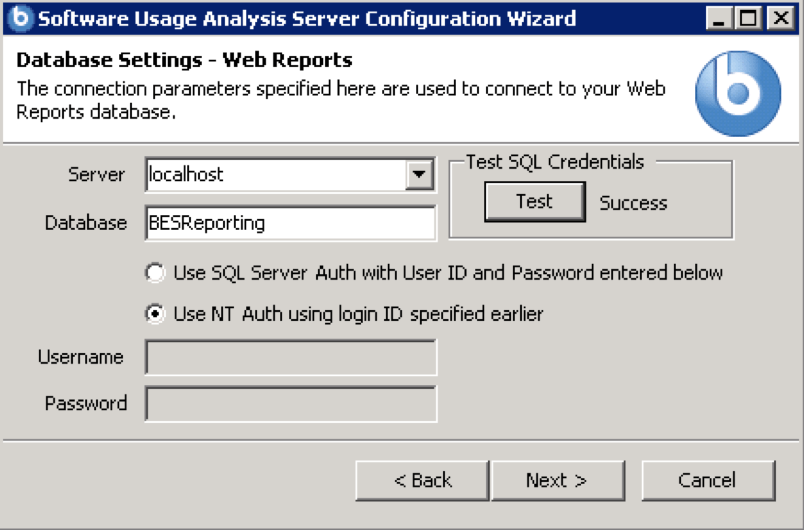
- I’ve included a number of screen captures for configuring SUA during the install below. I used NT authentication, however you may wish to use SQL authentication.
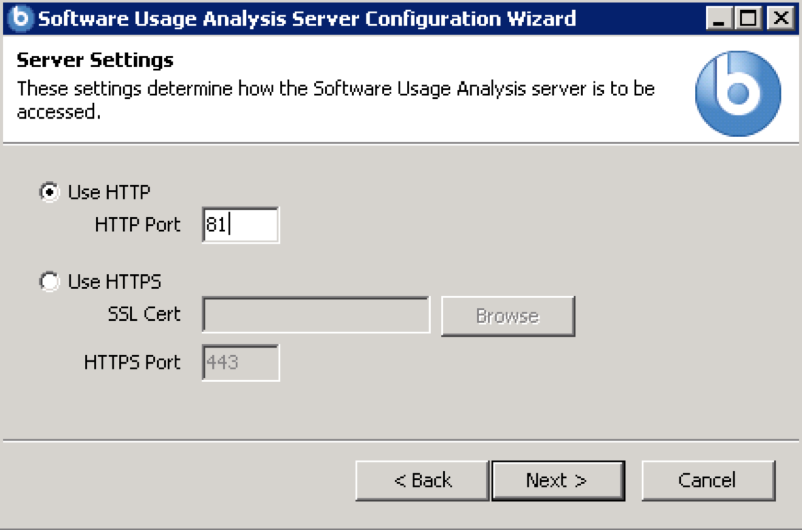
Note: Notice how I changed the default port for SUA from port 80 to 81 below (so I didn’t have a clash with Web Reports). I also used a local account for my test server (which already exists). You’ll most likely have your SUA server a member of a Windows domain, in which you may want to use an authorised service account.


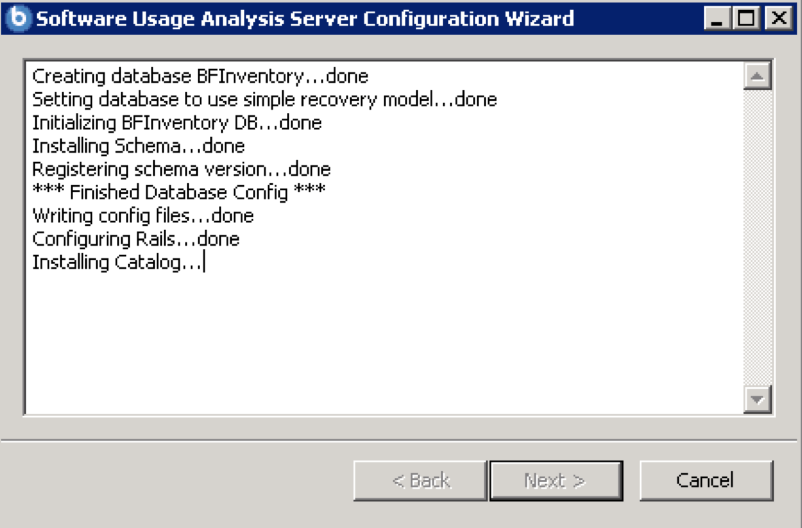
- Progress for the SUA installation is shown below:
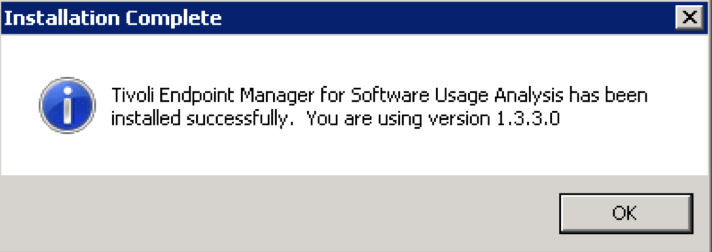
- Once the install is completed click OK and then click Finish
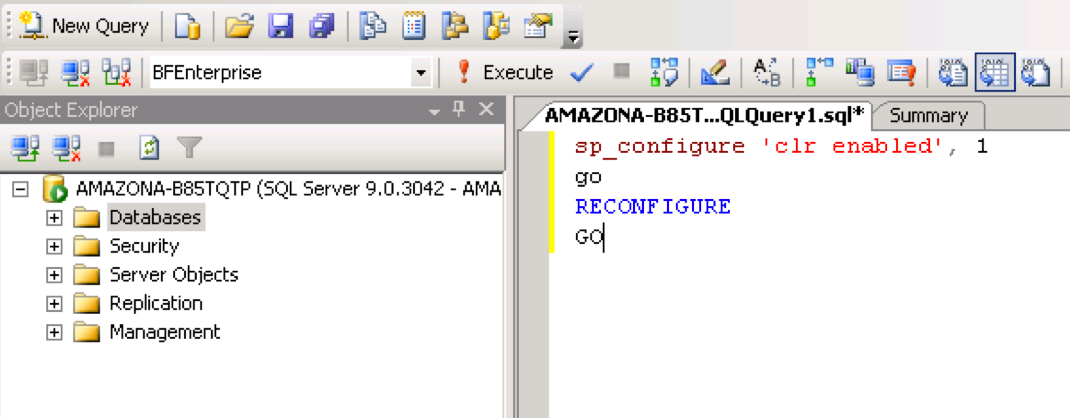
When I’ve installed SUA, I’ve sometimes been prompted with the following error installing SUA “Execution of user code in the .NET Framework is disabled. Enable “clr enabled” configuration option”. This requires running this command on the SQL Management Studio before I configure SUA and then restarting the server.
 You can download the SQL Management Studio from here if applicable – http://www.microsoft.com/en-us/download/details.aspx?id=8961.
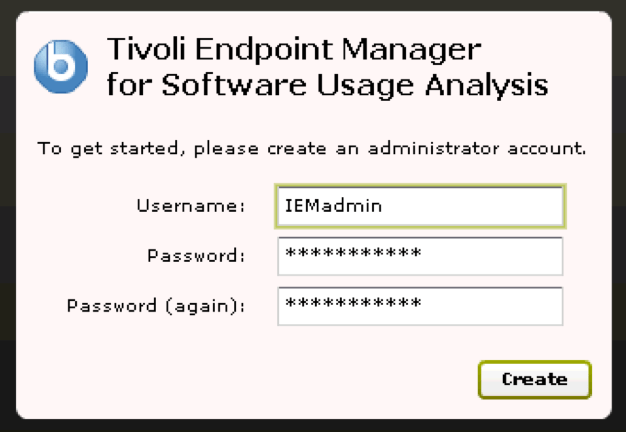
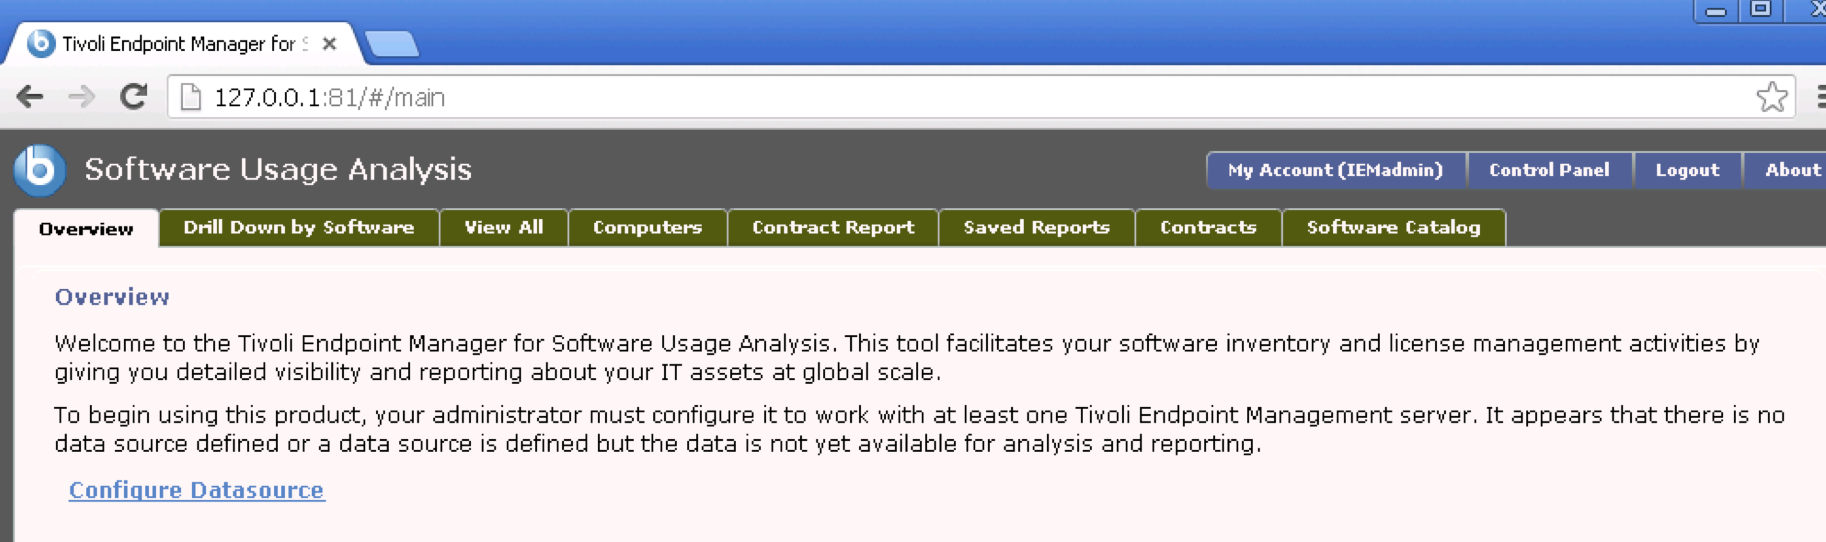
 - Run your web browser and browse to http://localhost:81 (port 81 if applicable). Enter the SUA administrator and password as shown:
- Configure the datasource as shown below:

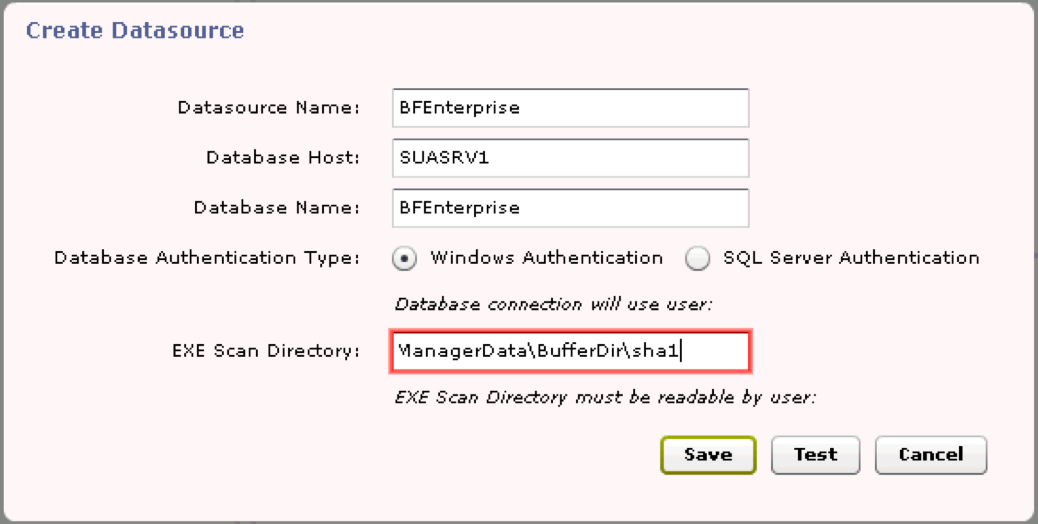
- Next select create a new Datasource. Enter details as shown below, along with an EXE scan location of C:\Program Files (x86)\BigFix Enterprise\BES Server\UploadManagerData\BufferDir\sha1 (change to another drive letter if appropriate)Select Test and one confirmed ok, select Save

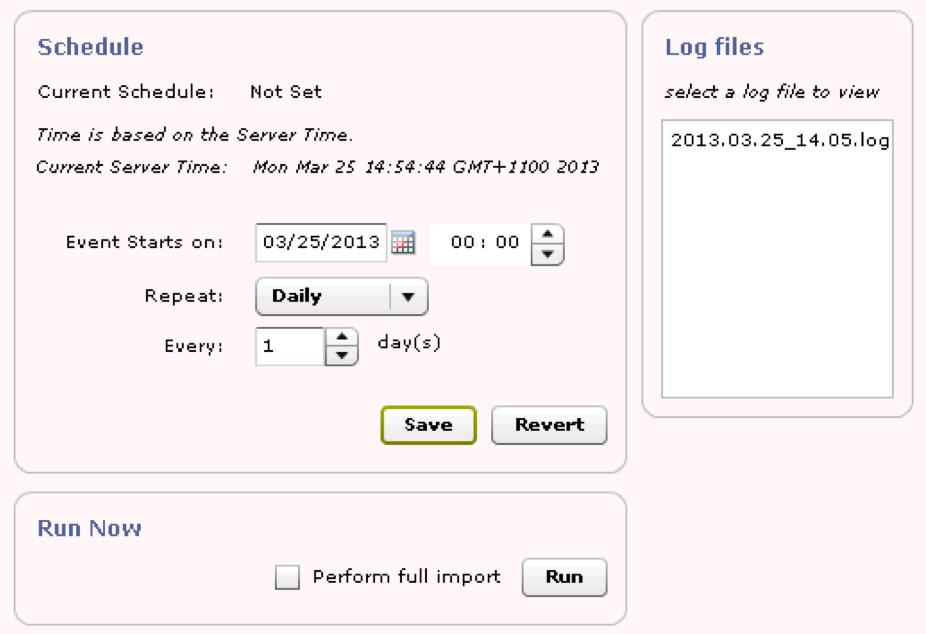
- We’ll also schedule how often we want SUA 1.3 to import the data uploaded to the server from the clients. To do this, select Import options and enter the following details to run the import once per day. Select Save.
- You will now have SUA installed, so we’ll now go to the IEM console and configure the clients which will send software usage information to the SUA server.


Setup your Endpoints for SUA scanning
- From the IEM console, select BigFix Management, License Overview and find the Software Usage Analysis section. Next to DSS SAM, select Enable
- Select Manage Sites, Tivoli Endpoint Manager for Software Usage Analysis. Under the Computer Subscriptions tab, change the value from No computers to All computers and select Save Changes
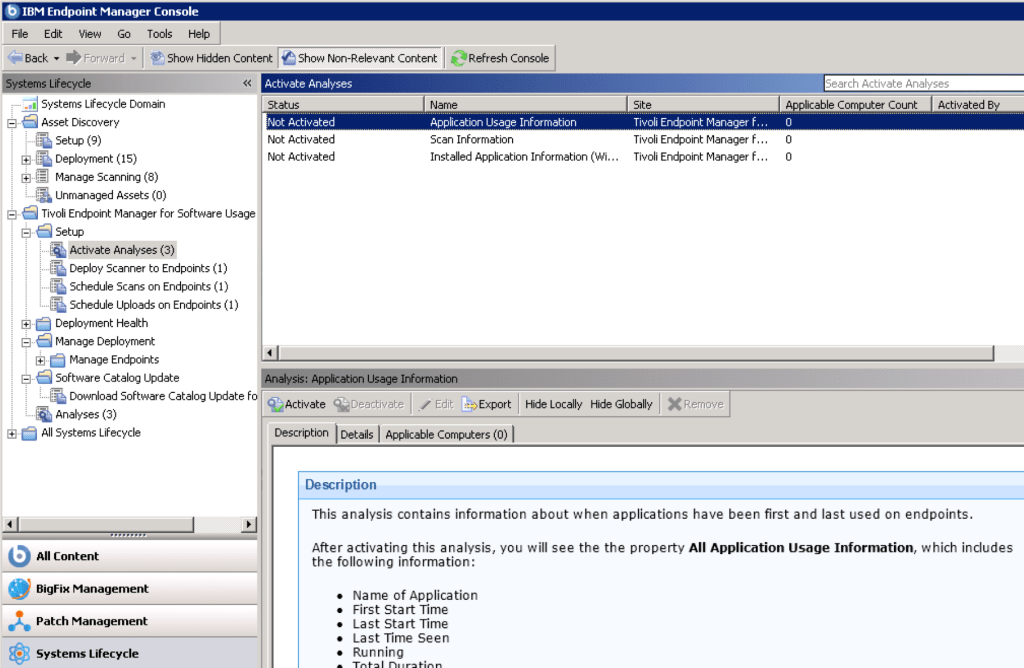
- Select System Lifecycle. Then select Setup – Activate Analysis. You should see three Analysis as shown in the example below. Activate each of these.
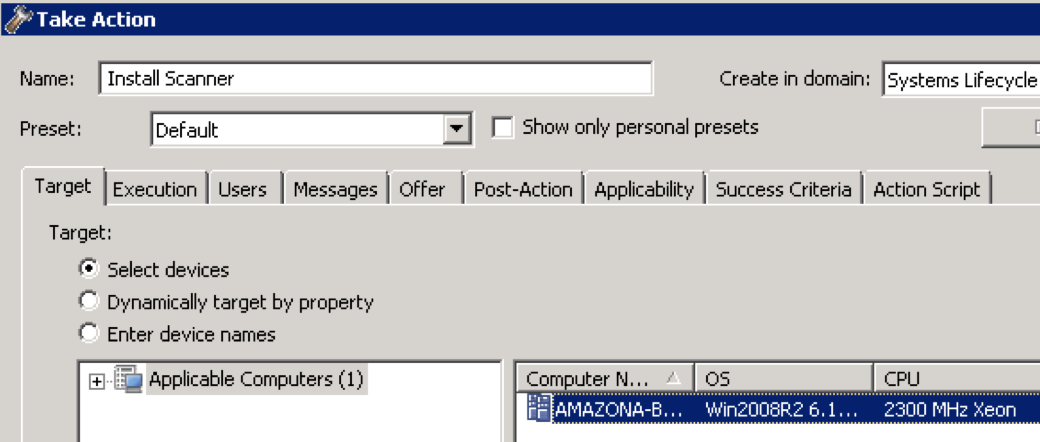
- Next select Setup – Deploy Scanner to Endpoints and select Install Scanner, select Take Action. The scanner will then be deployed to the endpoint.

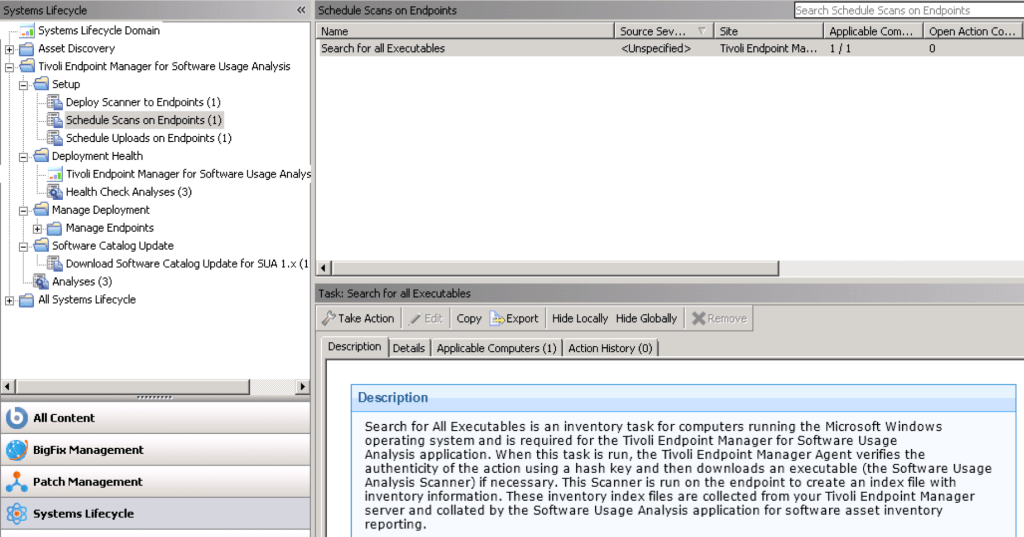
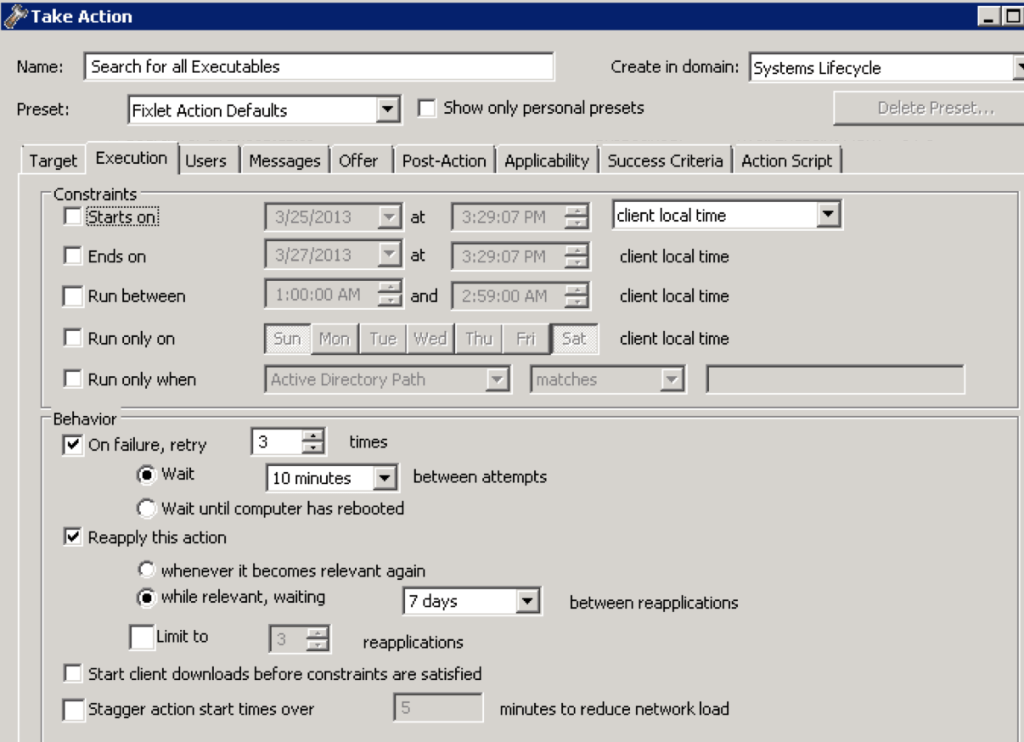
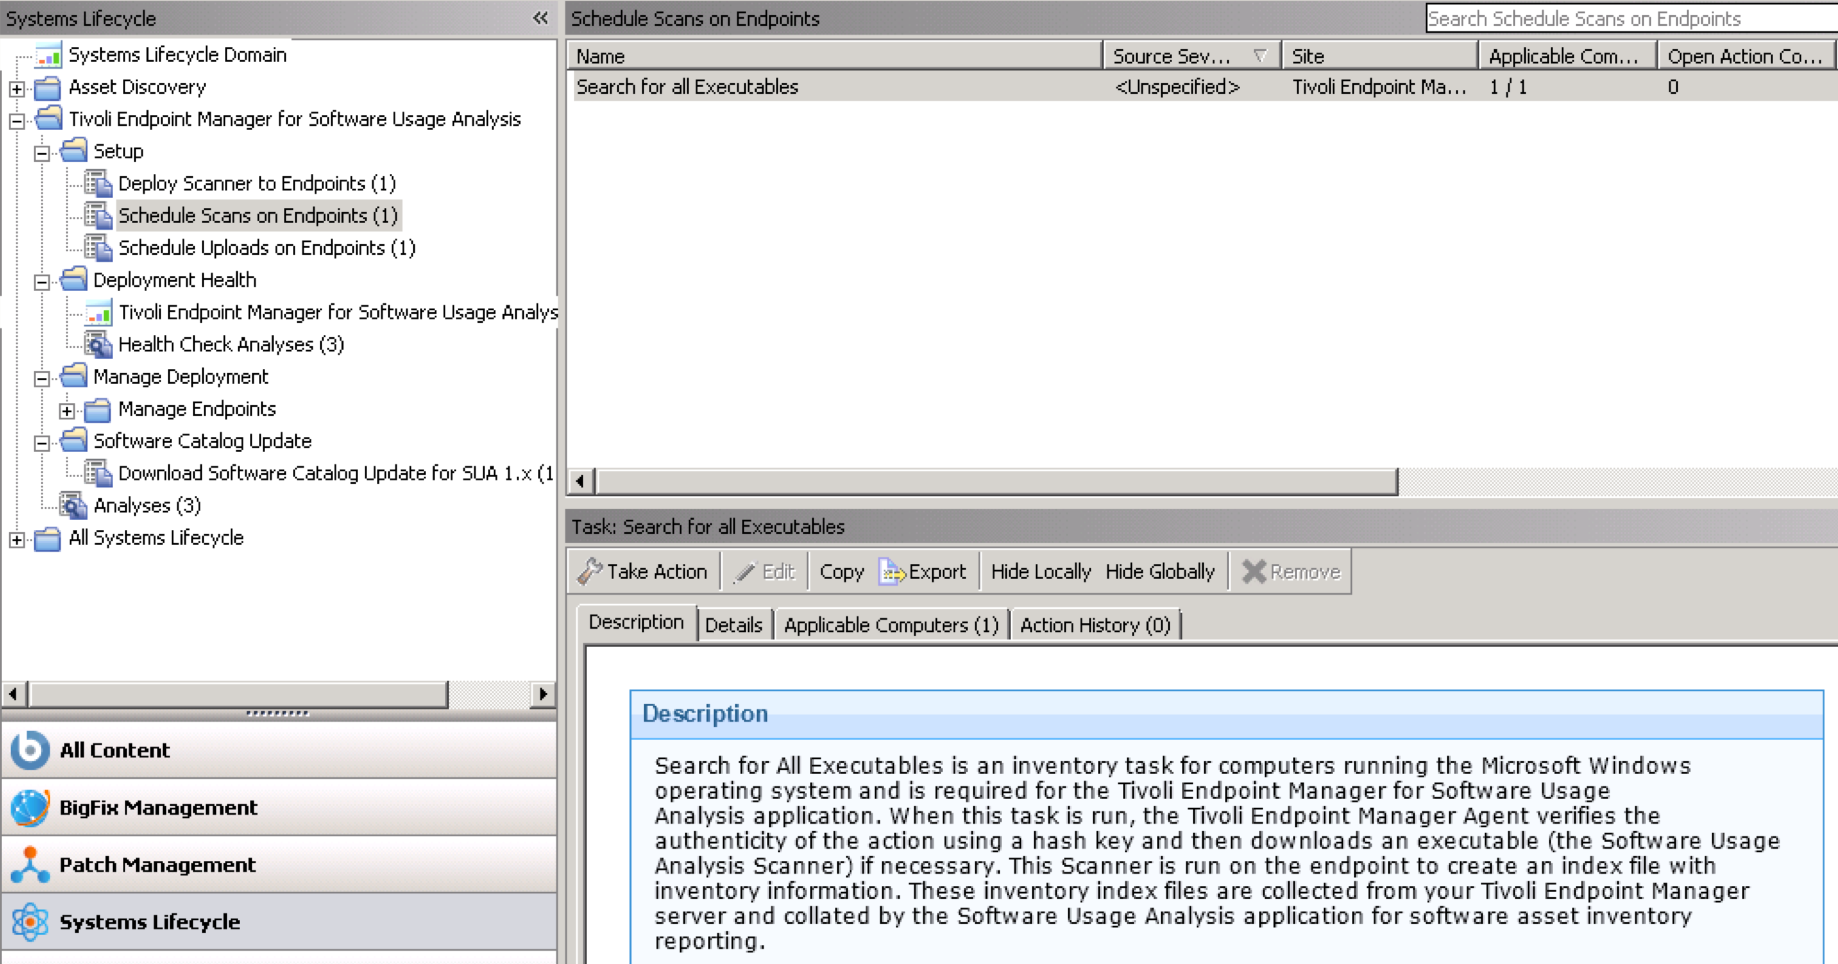
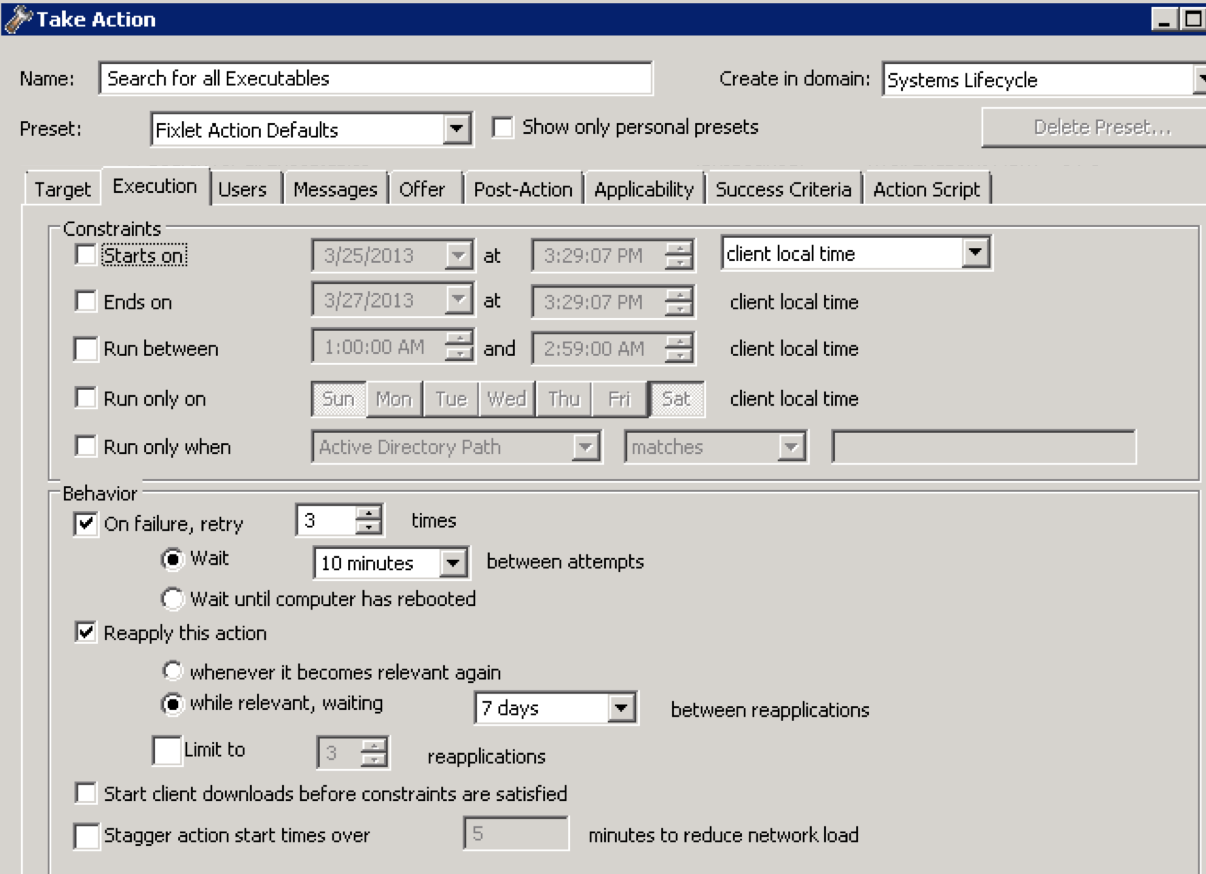
- Once the scanner is deployed to each endpoint, you can then configure the scanner to run periodically (by default it runs once per week). Select Setup – Schedule Scan on Endpoints (note it can take a few minutes before the scanner you’ve deployed is relevant to this Fixlet). If you review the Execution tab, you can see the scanner will run by default every 7 days.
- Finally, select Setup – Schedule Uploads on Endpoints and select your endpoint to send their scanned data to the SUA server.

Note: It’s probably a good idea to do each of the three items above on a group basis, so that as you deploy additional endpoints they’ll automatically be setup for SUA processing.
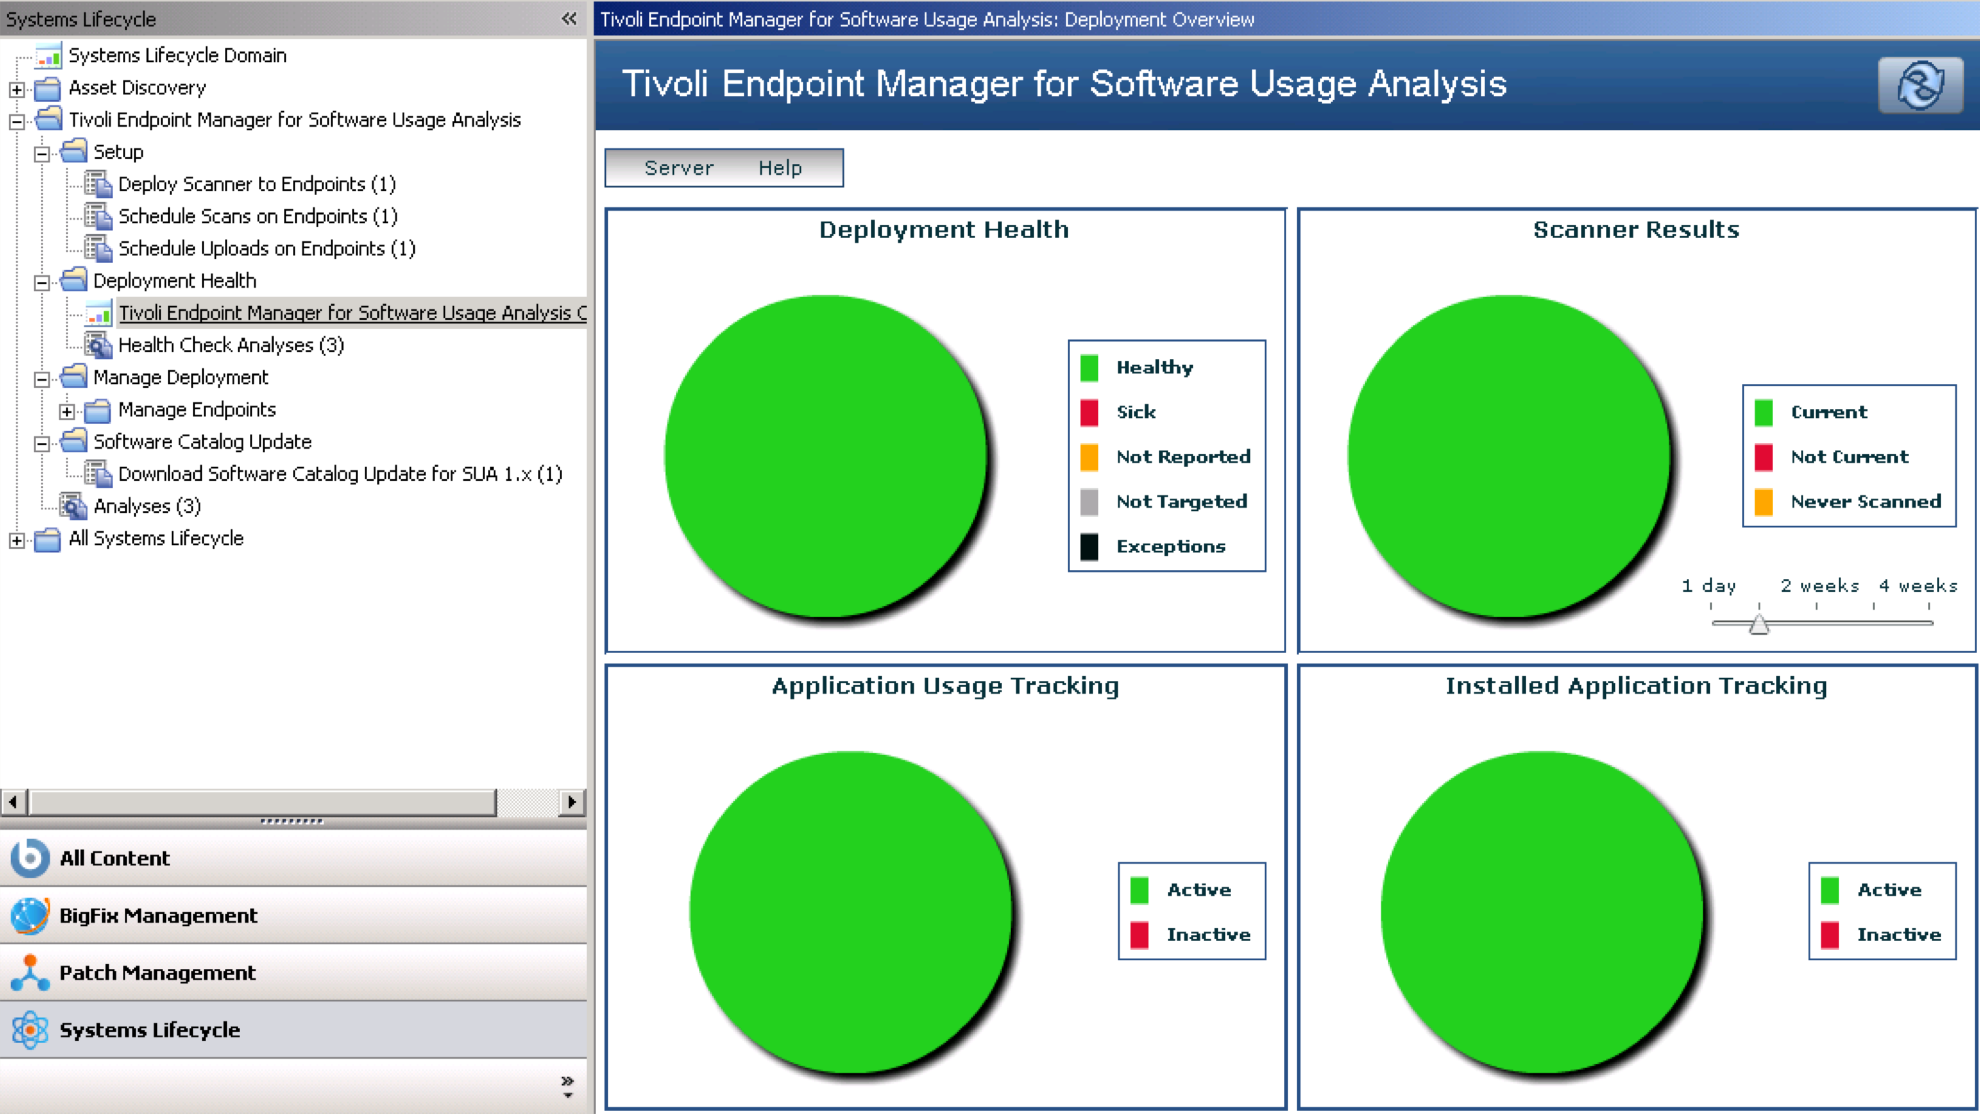
There is a nice SUA health dashboard as shown below:
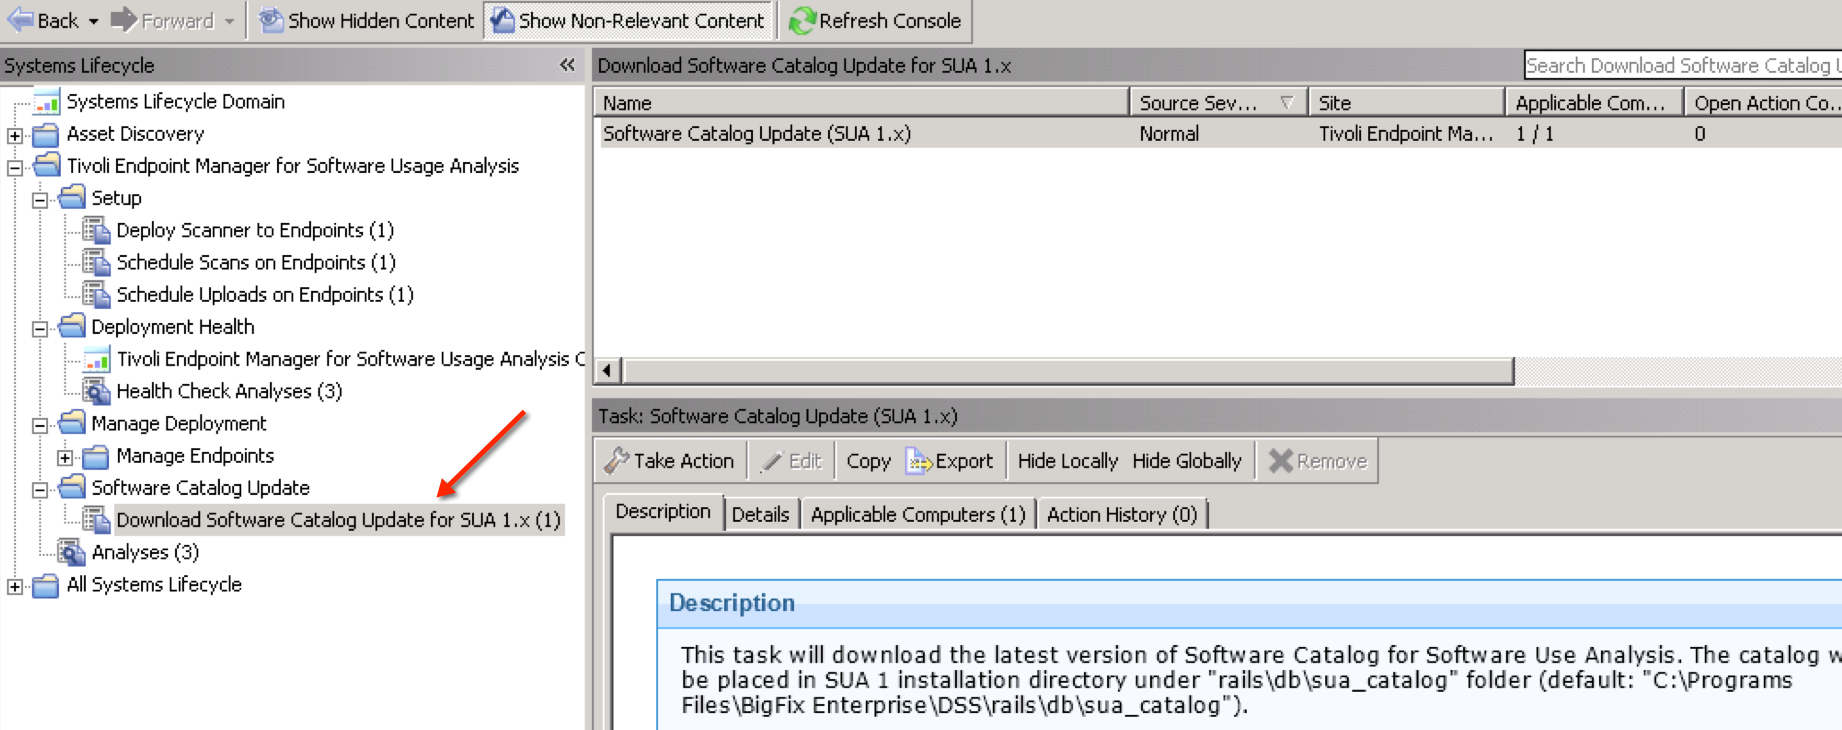
If relevant, new software catalog updates will be shown here along with instructions to download and install these on your SUA server.
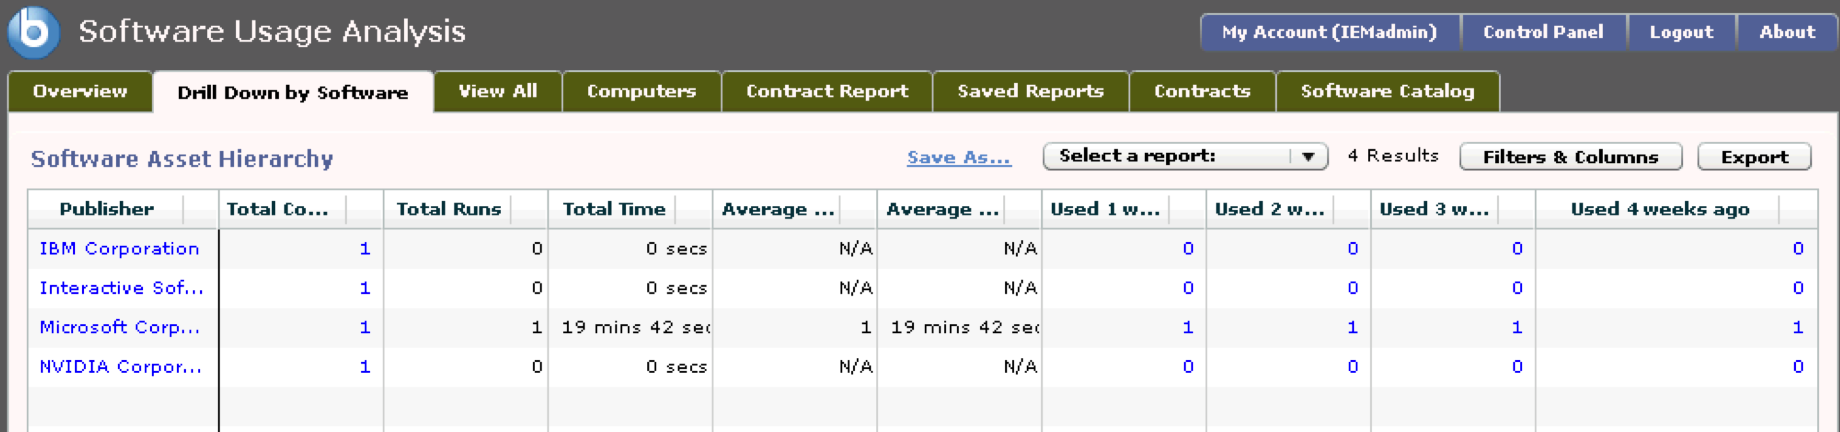
Note: When you log back into the SUA server you won’t immediately see any software usage information until the clients have sent their data to the server AND the data import task has run (which you’ll remember we set on a once a day basis). You can run the data import process immediately if you want to see information like the following:
That’s it. SUA is now up and running and you can easily see what software is installed and being utilised in your company. It’s worthwhile watching the following video which gives an overview of the SUA 1.3 console. If you have any problems, please post your query to the IEM SUA forum.
Are you benefiting from IBM Endpoint Manager SUA? If so we’d love to hear from you.
Darryl
