
Workspace ONE provides a great way to provide a seamless experience when accessing Office 365. I found configuring this wasn’t too complex, however there were a number of settings you needed to get exactly right for this to work.
The purpose of this article is to provide you further details on how to enable this integration, with the settings from my lab environment and the guides I used to set this up.
Please Note: As of March 30, 2024 Microsoft has deprecated MSOnline used in this article. See the blog article by Bryan Garmon as an alternative.
The official integration guide is available here. This is a comprehensive guide, however I found the integration documentation written by the VMware LiveFire team much more straightforward. The LiveFire team’s guide is outlined in five parts:
- Part 1: Setting Up a Developer Account
- Part 2 : Federating Office 365 with Workspace ONE Access
- Part 3: Setting up the SAML between Workspace ONE Access and Office 365
- Part 4 : In this part, we will now start testing the federation to see and ensure it it working properly
- Part 5 : Inserting Office 365 Deep Links into Workspace ONE Access
My instructions below leverage this guide and my specific settings which should further clarify what you need to do if you set this up yourself.
Following the LiveFire instructions I had already completed Part 1: Setting Up a Developer Account.
For Part 2 : Federating Office 365 with Workspace ONE Access I completed the following:
I’d setup Azure AD Connect and sychronised my on-premises Active Directory to Azure AD
As per the example in the article, in the User Attributes interface I had set userPrincipalName to Required and created the objectGUID attribute and made it required as well. As per the following:
I opened Active Directory Domains and Trusts and add my custom domain name. In my case eucau.com. I then opened Active Directory Users and Computers and selected this custom domain for a number of my user accounts.
Run Powershell as administrator and run this commands:
Install-module AzureAD
Install-module MSOnline
If you get any installation errors you might need to run this command first:
[Net.ServicePointManager]::SecurityProtocol = [Net.SecurityProtocolType]::Tls12
See this article for further information.
I ran the Powershell commands as per the article to connect to Azure AD:
Connect-MsolService
Next run:
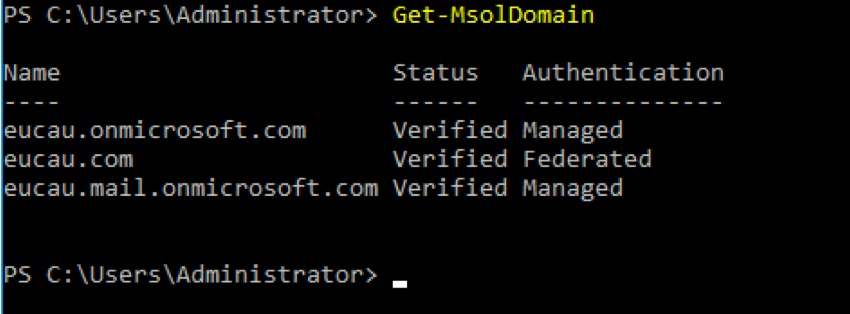
Connect-MsolDomain
You will see a summary of your domains including the current authentication setting. You might have some domains in a “Managed” state and some domains in a “Federated” state.

Next I went into Workspace ONE Access and created a new SaaS Application for Office 365.
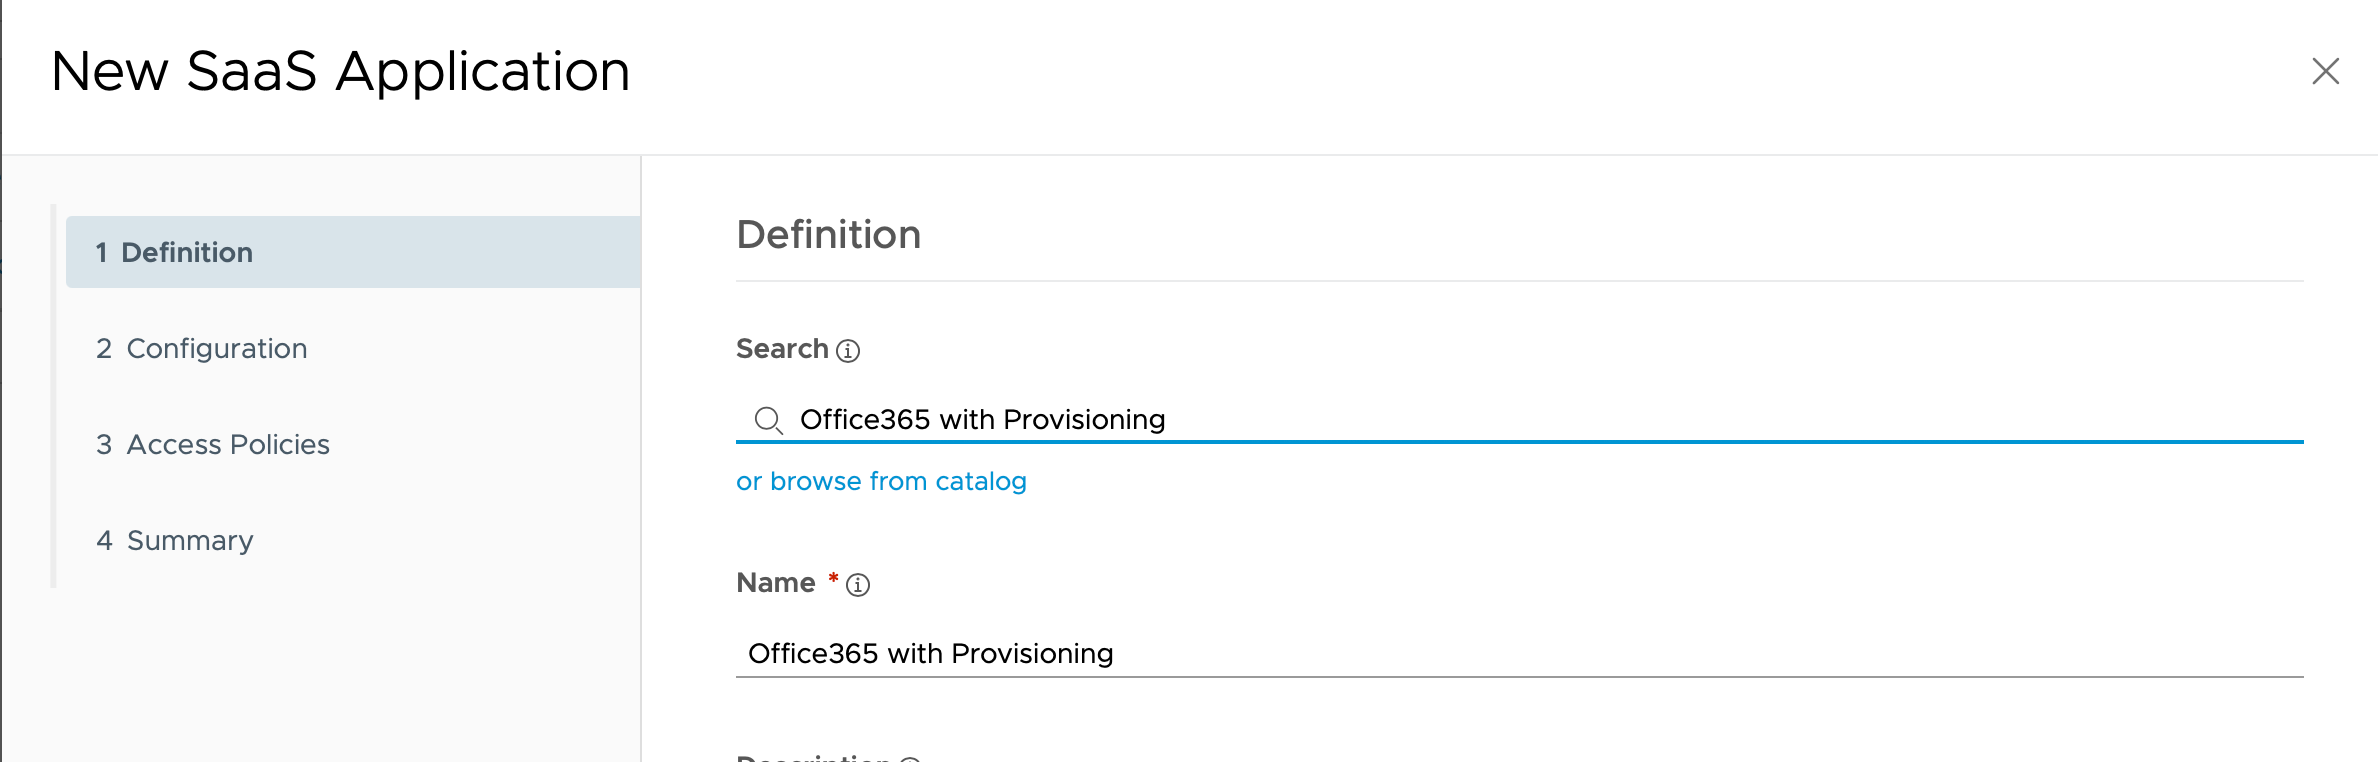
Accept the defaults but ensure you configure these two parameters:

Scroll down to Application Parameters, make sure the correct value is used for the ImmutableID. Your value might be ${user.sourceAnchor} depending on your environment.

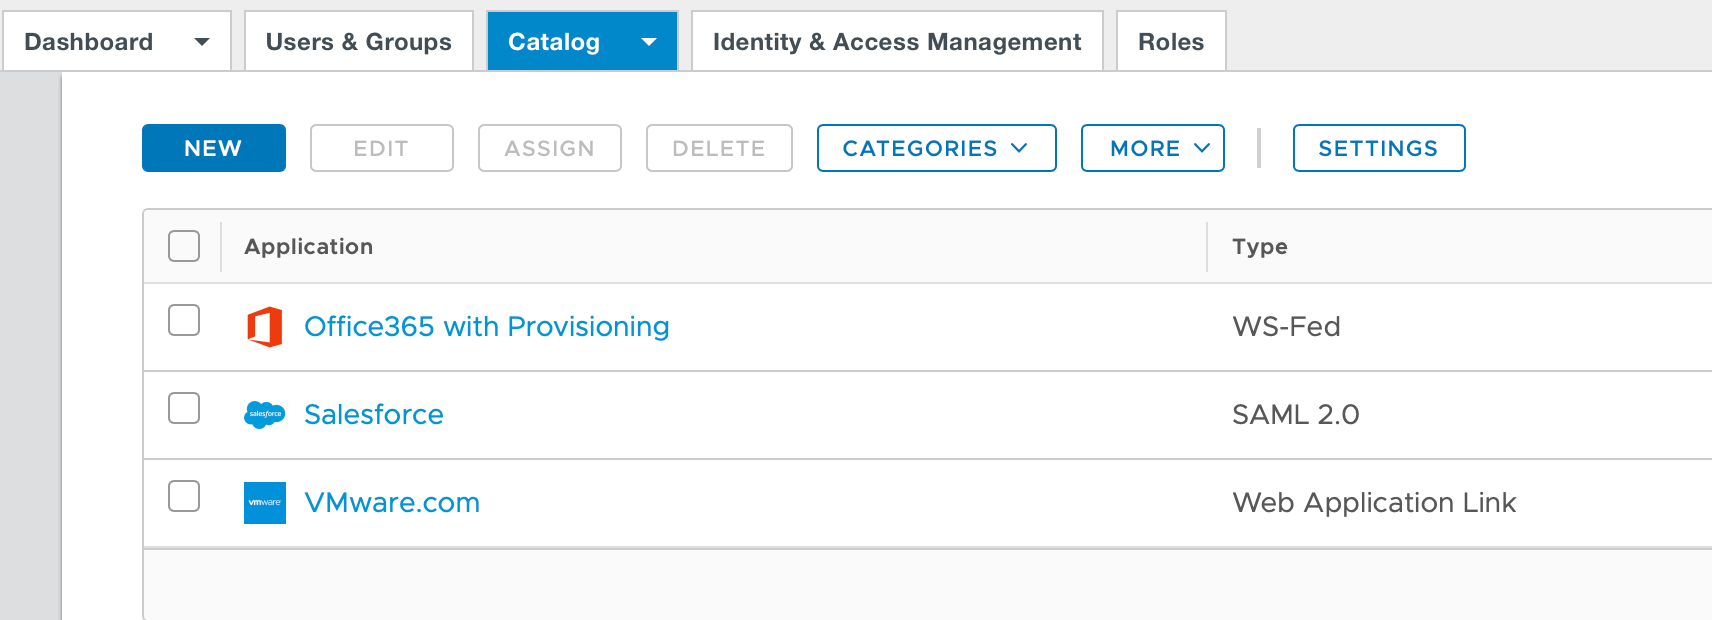
Click Next, Next and Save and Assign. Assign the application to your user group. The new application will be displayed as shown:
For Part 3: Setting up the Federation between Workspace ONE Access and Office 365 the following items were completed:
The article details how to download the Signing Certificate and using Notepad++ to remove carriage returns.
I’d recommend to use the example powershell below. It includes example parameters so you can ensure it’s correct for your environment. Below is the powershell I used to setup SSO for my lab (truncated cert). You would of course update the items in blue accordingly and enter your Signing Certificate details.
To build the Powershell values, I’d recommend checking out Steve D’Sa’s blog post here. Steve has a great way of getting the SigningCertificate information instead of downloading this from the Workspace ONE Access portal and removing the line breaks.
Set-MsolDomainAuthentication –DomainName eucau.com –IssuerUri darrylmtd-440.vmwareidentity.com.au –Authentication Federated -FederationBrandName "EUCAU" -PassiveLogOnUri https://darrylmtd-440.vmwareidentity.com.au:443/SAAS/API/1.0/POST/sso -ActiveLogOnUri https://darrylmtd-440.vmwareidentity.com.au/SAAS/auth/wsfed/active/logon -LogOffUri https://login.microsoftonline.com/logout.srf -MetadataExchangeUri https://darrylmtd-440.vmwareidentity.com.au/SAAS/auth/wsfed/services/mex -SigningCertificate MIIFKDCCAxCgAwIBAgIGDfu92EIaMA0GCSqGSIb
Run the powershell command and it should complete without any errors. If you receive this error:

You need to change the primary domain as follows from the Azure portal:

To ensure the federation is complete, run the following command again:
Connect-MsolService
You’ll see your domain is set to Federated:
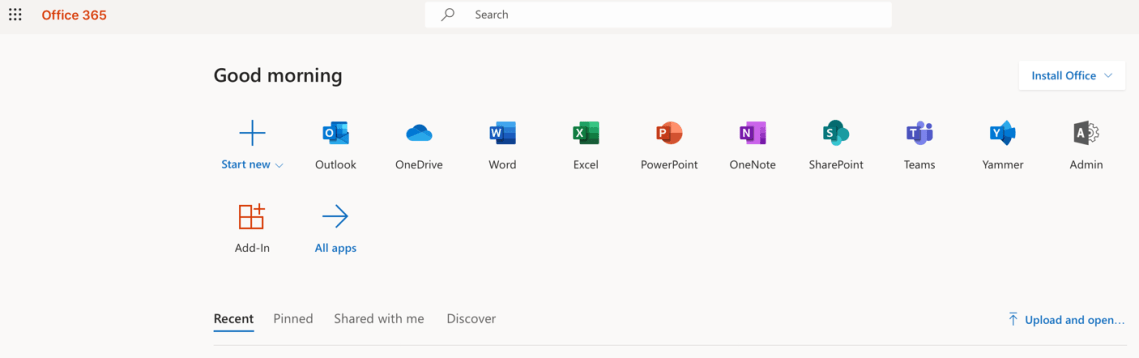
For Part 4: Test Federation I tested my users were active users in Office 365. I also assigned licenses of Office to a number of my test accounts. Once it was completed I could sign into Workspace ONE and then click on Office 365 and it will seamlessly open the application without any userid/password.
Thats it !
If you have any questions on Workspace ONE, I’d recommend checking out the Workspace ONE community forum. If you would like further information, you can also contact me directly via my blog contact page.
Darryl
P.S. I’ve also written an article titled AuthN/AuthZ nuances when integrating Workspace ONE and Azure AD which you might find interesting too.
Updates
8 April 2011 – re-tested and simplified some of the steps, reference to Steve D’Sa’s (excellent) blog article.
