
PaperCut is used by businesses and organizations to track, control, and optimize their printing. PaperCut MF allows businesses to set printing policies, track printing usage, and reduce printing costs.
The purpose of this article is to document how to deploy PaperCut on Apple Macs (macOS) using Workspace ONE UEM. These instructions were created and tested by my colleague, Apple expert extraordinaire Matthew Zaske (SME Solution Engineer). I simply added some more step by step instructions and screen captures!

Deploy a macOS custom settings profile
Create a macOS custom settings profile using the following XML. Change the server name from print.server.name.here as appropriate to the DNS name of your PaperCut server:
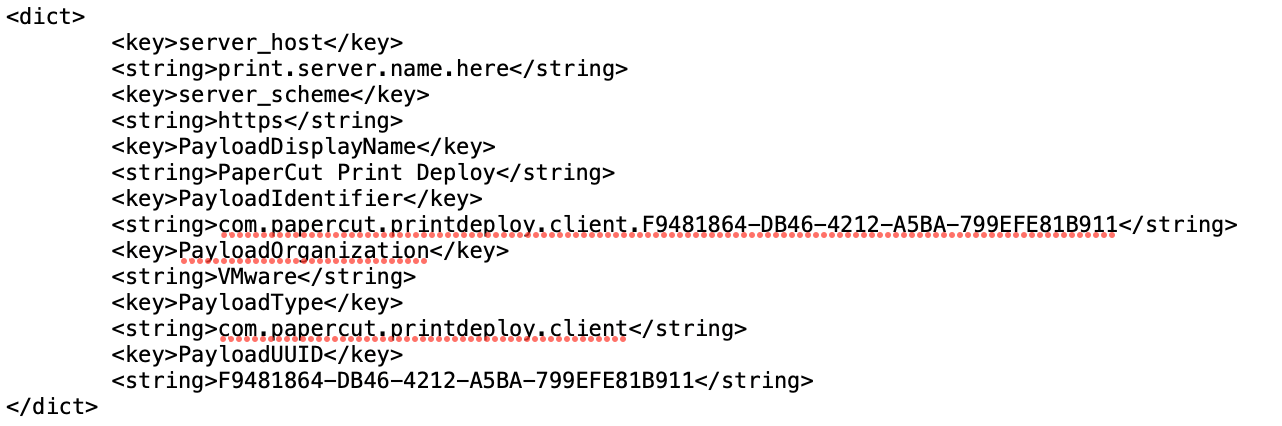
Note: see text file below to get a copy of this XML.
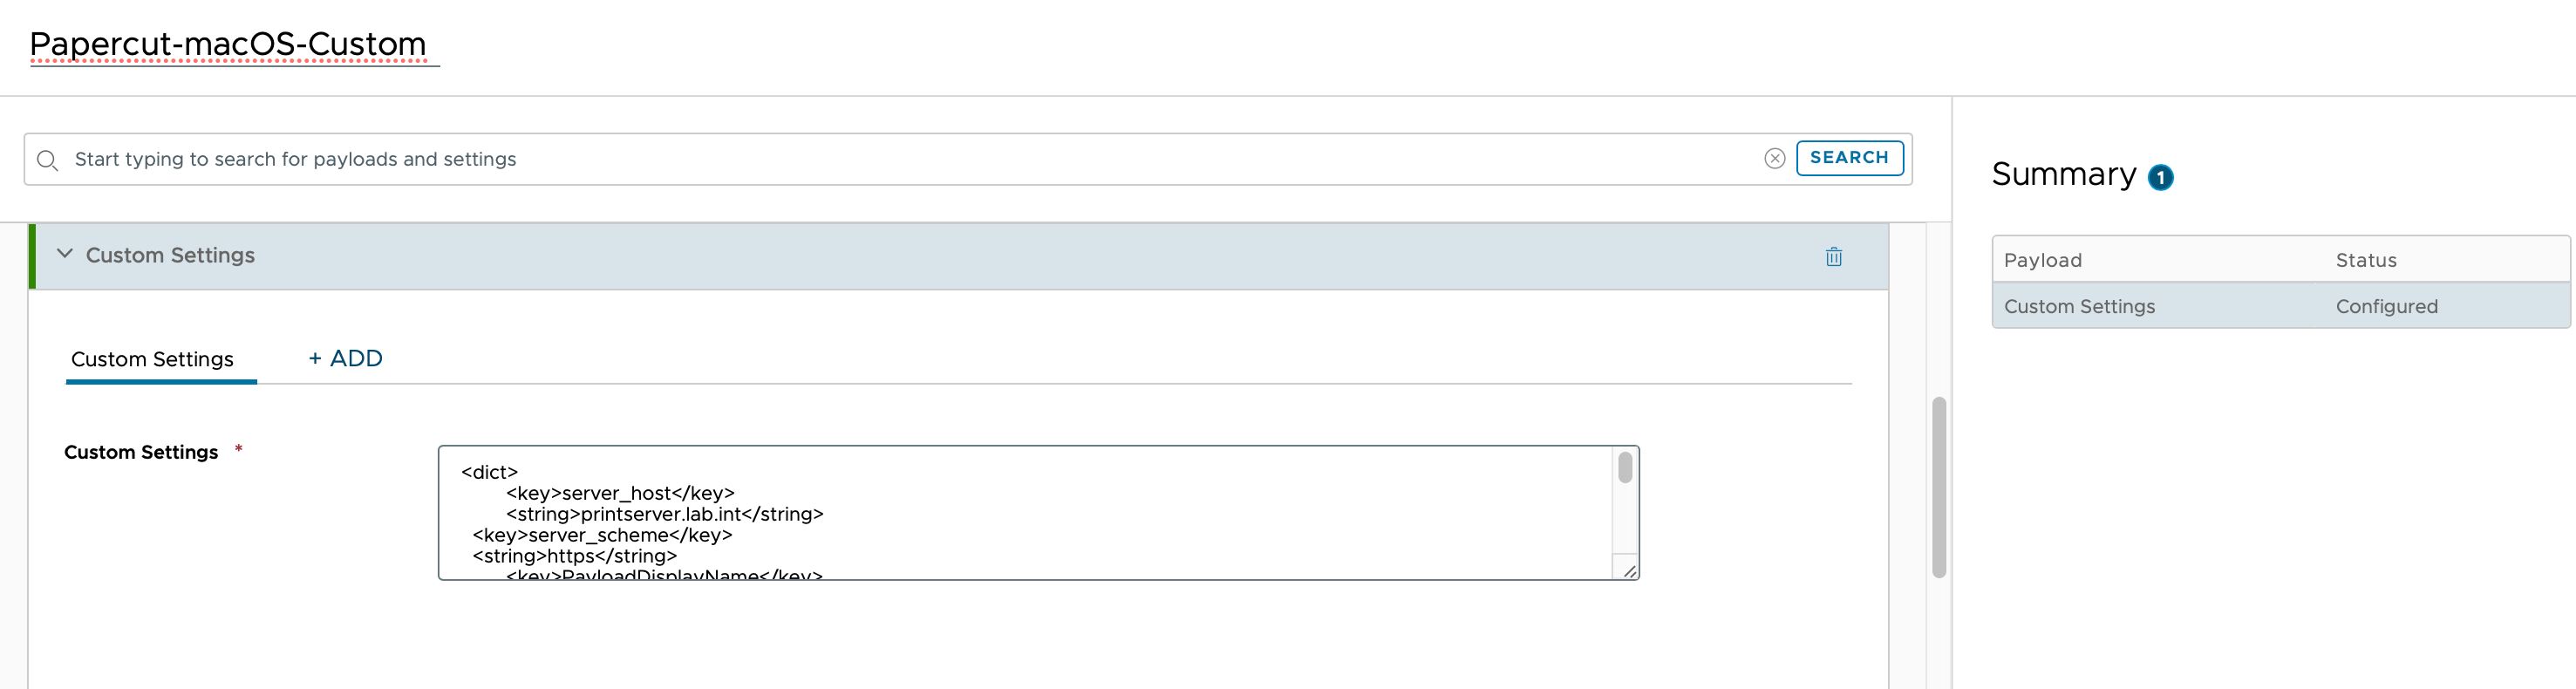
For example in my lab:
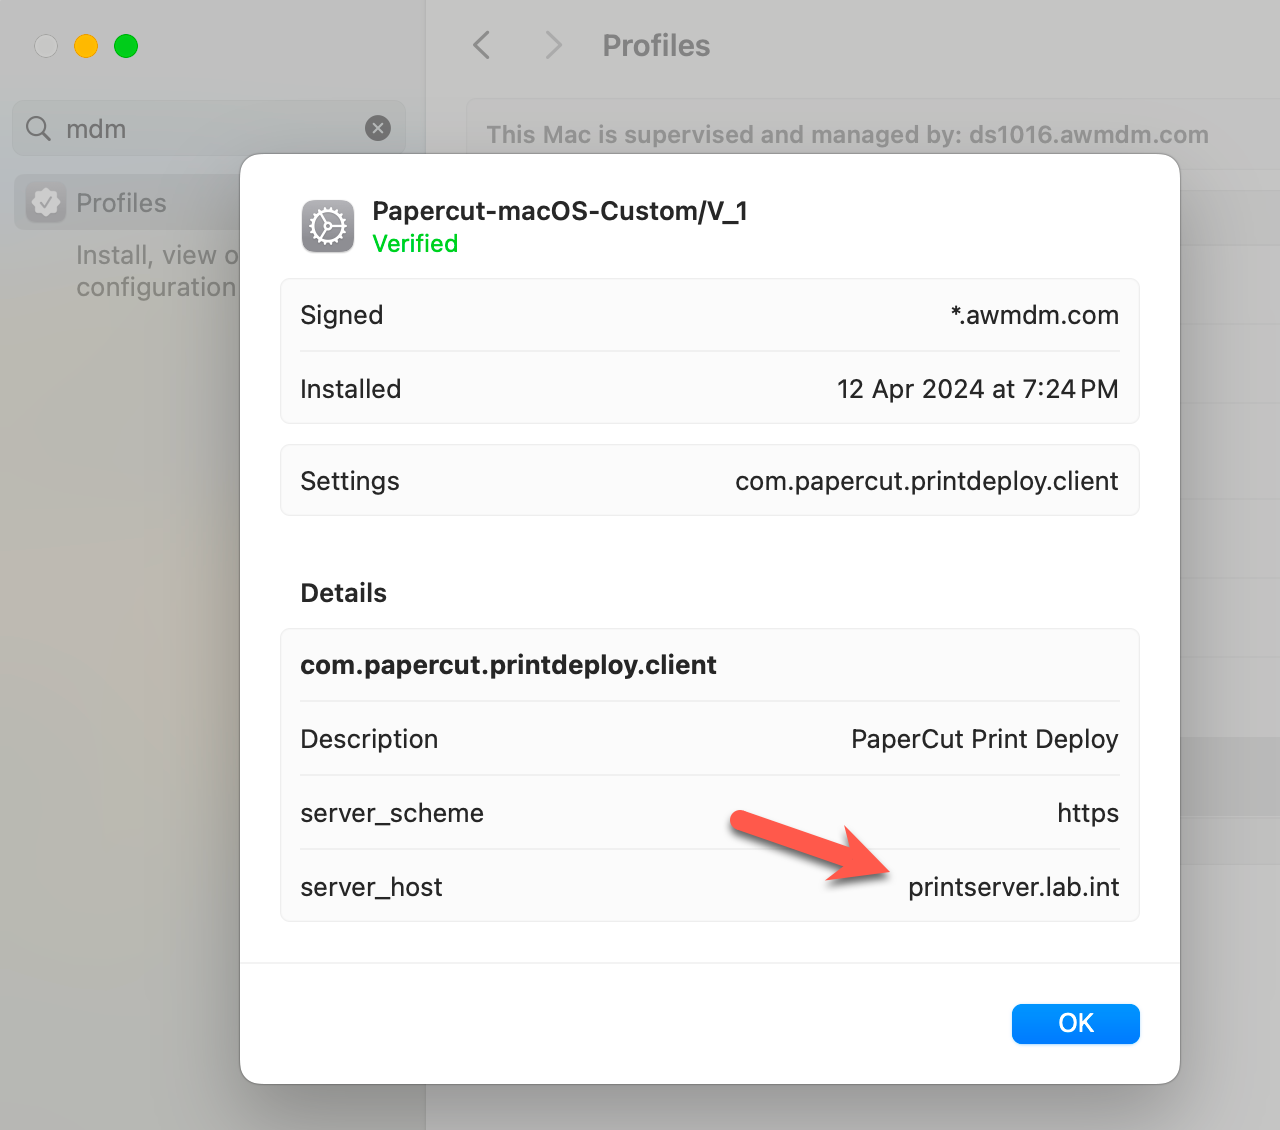
This was then deployed to my Mac’s. You can see the server_host print server is defined as print server.lab.int by reviewing the MDM profiles on your devices.
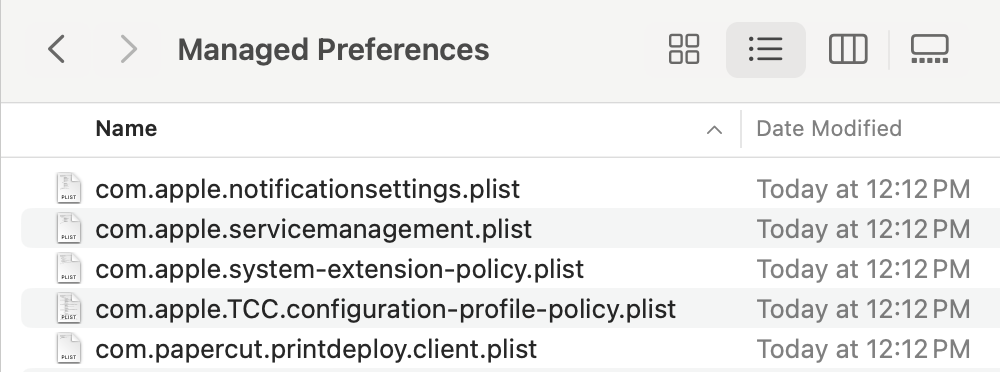
The setting can also be viewed under /Library/Managed Preferences too.
Workspace ONE Admin Assistant (for macOS)
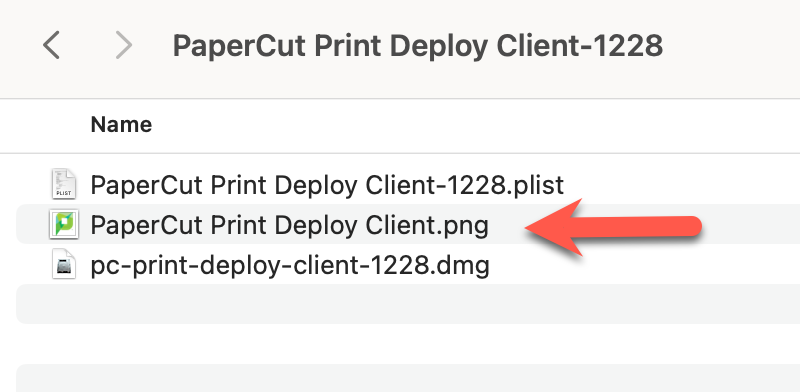
Since we are deploying the custom settings profile (above) we do not need the filename to contain the hostname. So next rename the DMG file to remove the hostname and brackets.
Next download the Workspace ONE Admin Assistant from resources.workspaceone.com.
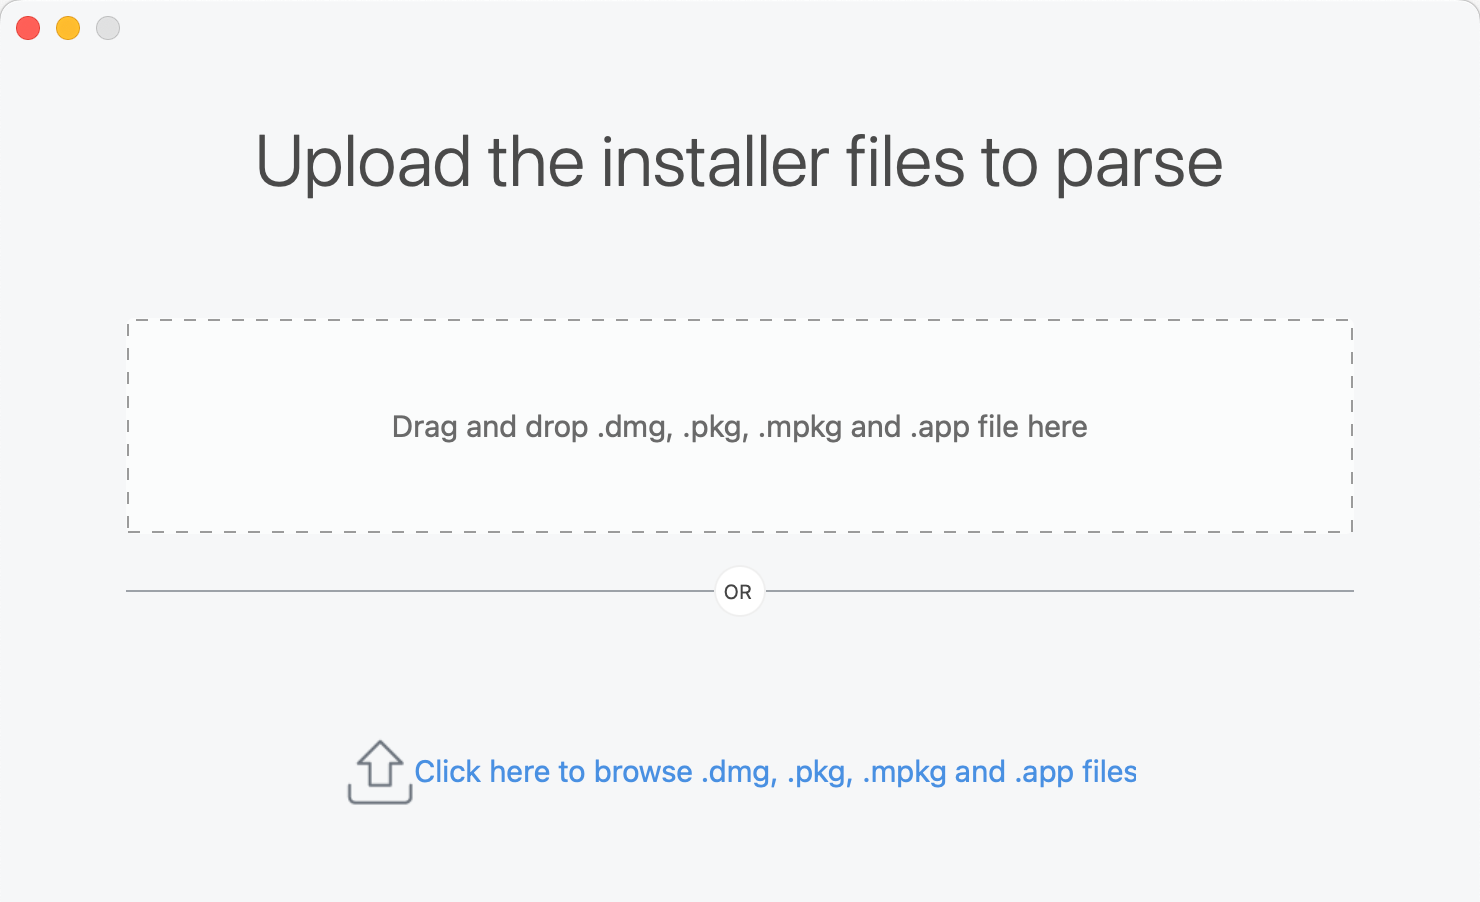
Launch the Workspace ONE Admin Assistant and either drag the PaperCut DMG into the application or click the button as shown:
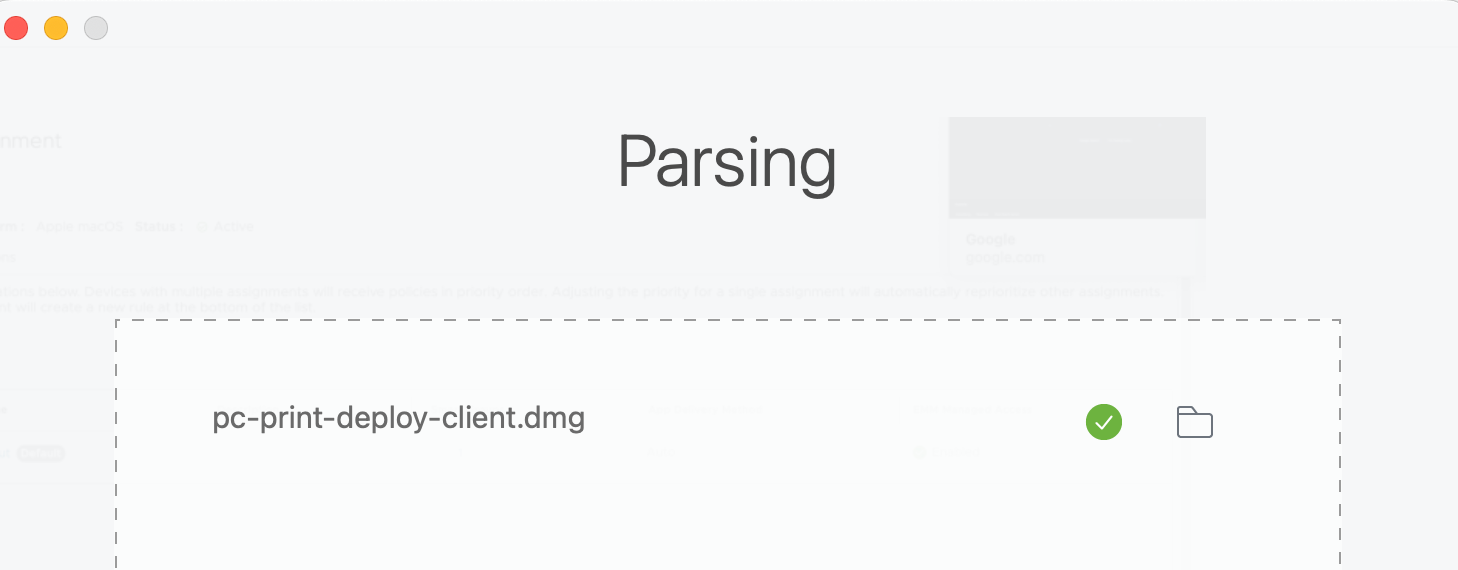
Once completed it will have parsed the PaperCut application:
Deploy the PaperCut application
Next within the Workspace ONE UEM Admin console, select Resources – Apps – Native – Internal. Click Add – Application File. Then upload the parsed PaperCut DMG. Then select Metadata File by clicking the Upload button.
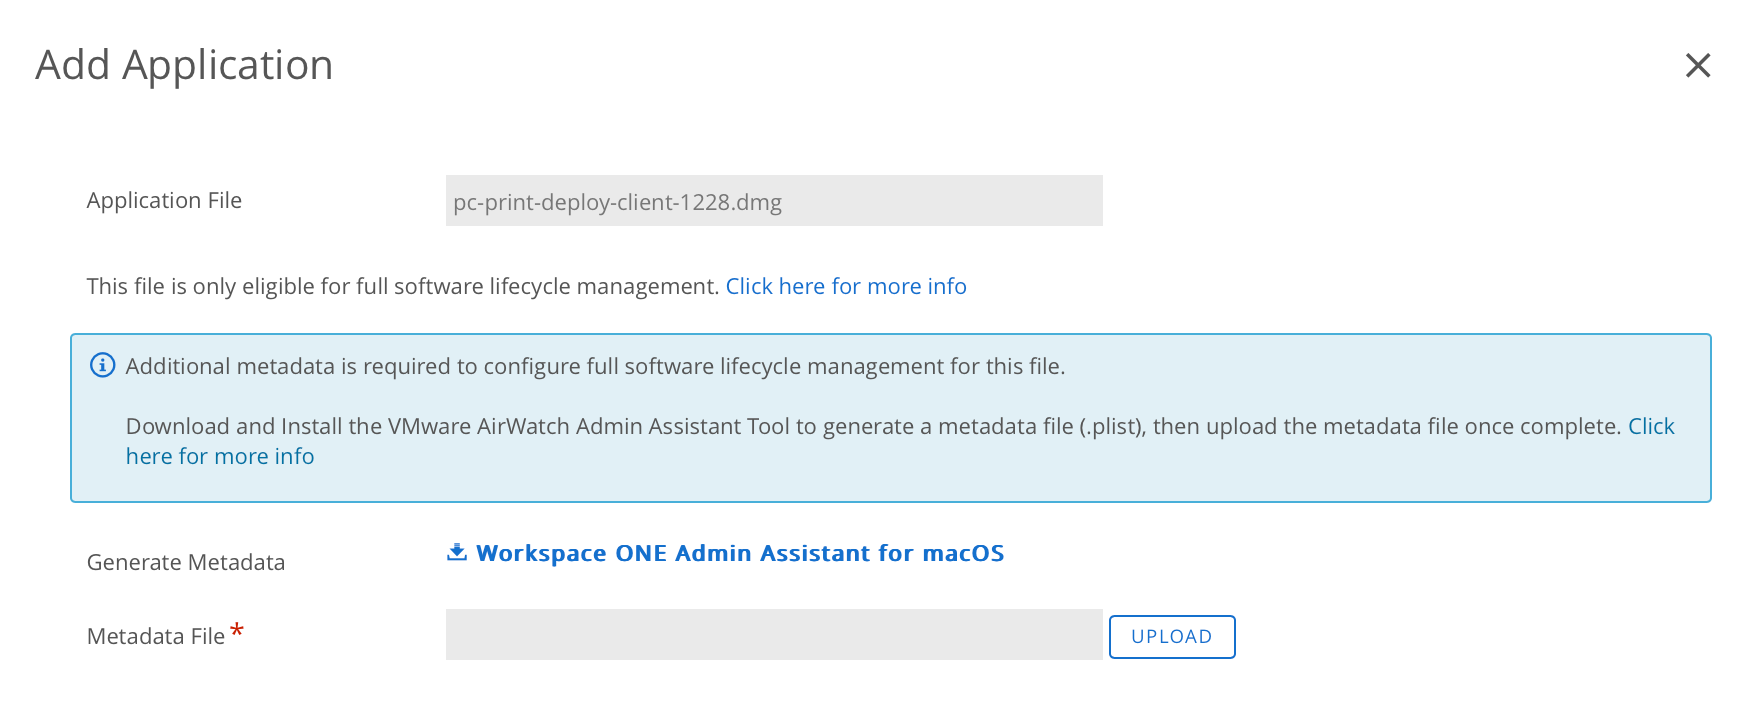
Select the .plist file as follows:

Click Continue
The application configuration window is then shown:

Select Images and then click on the icon item before selecting your PNG created using the Workspace ONE Admin Assistant.
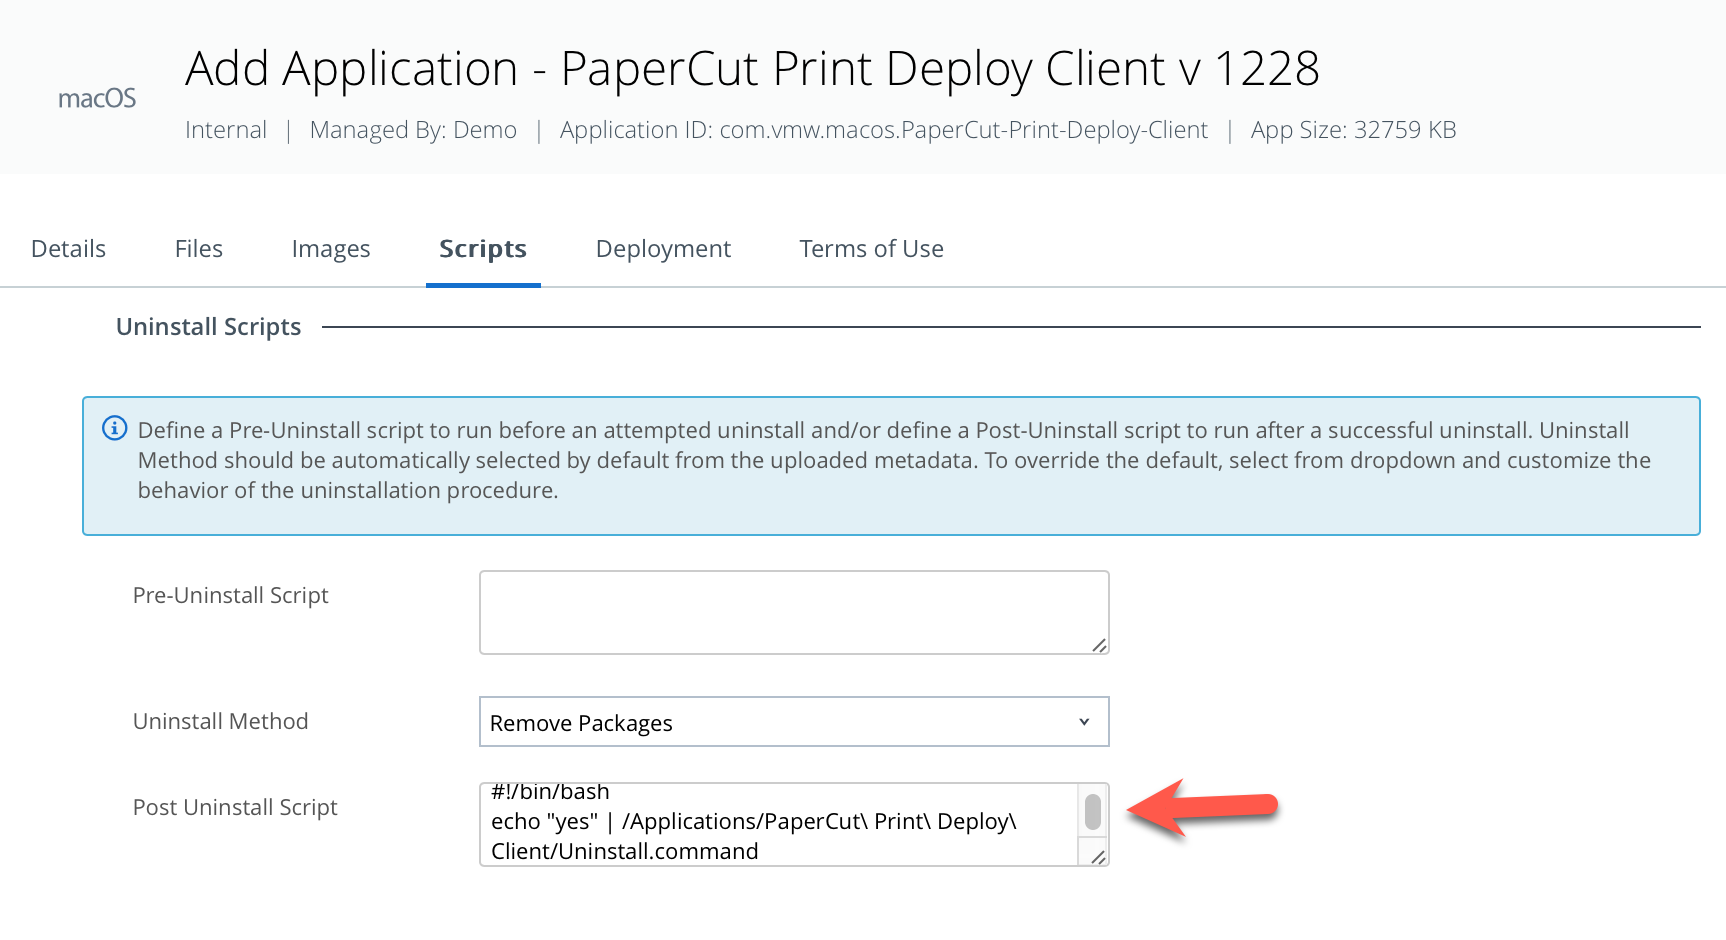
Click Scripts, and add the following un-install script to the application as shown:
#!/bin/bash
echo “yes” | /Applications/PaperCut\Print\Deploy\Client/Uninstall.command
As shown:
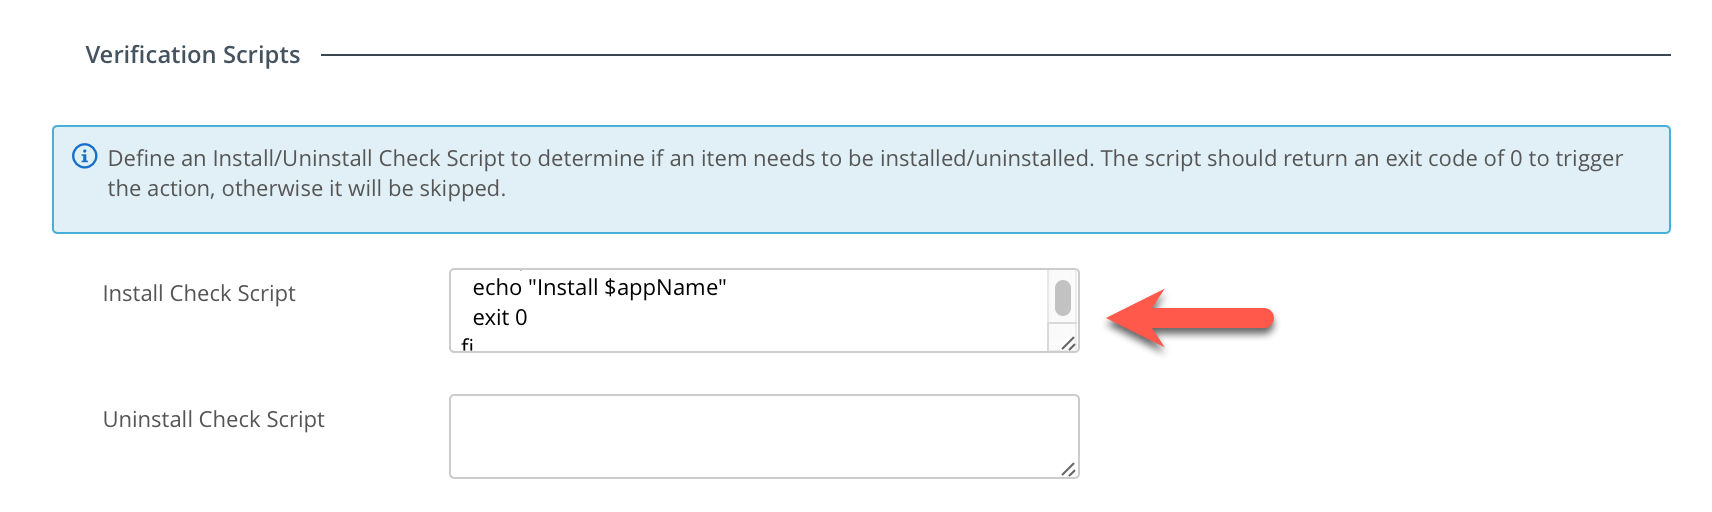
Next, add the following install check script to the application:
#!/bin/bash
# version of PaperCut being deployed
target_version=1228
appPath=”/Applications/PaperCut Print Deploy Client”
appName=”PaperCut”
# Check if PaperCut is installed First
if [ -d “$appPath” ]; then
#convert version number to individual
function version { echo “$@” | /usr/bin/awk -F. ‘{ printf(“%d%03d%03d%03d\n”, $1,$2,$3,$4); }’; }
# grab current version of PaperCut
current_version=$(/usr/sbin/pkgutil –pkg-info com.papercut.printdeploy.client | /usr/bin/grep “version” | /usr/bin/awk ‘{print $2}’)
echo current version: $current_version
# Compare with the version we want to install
if [ $(version $current_version) -lt $(version $target_version) ]; then
# version installed is less than target – install
echo “Install $appName”
exit 0
else
# version installed is same or greater than target – mark installed
echo “$appName is installed”
exit 1
fi
else
# PaperCut is not installed – need to install
echo “Install $appName”
exit 0
fi
As shown:
Click Save and Assign
Name the application and assign it to your users/groups:
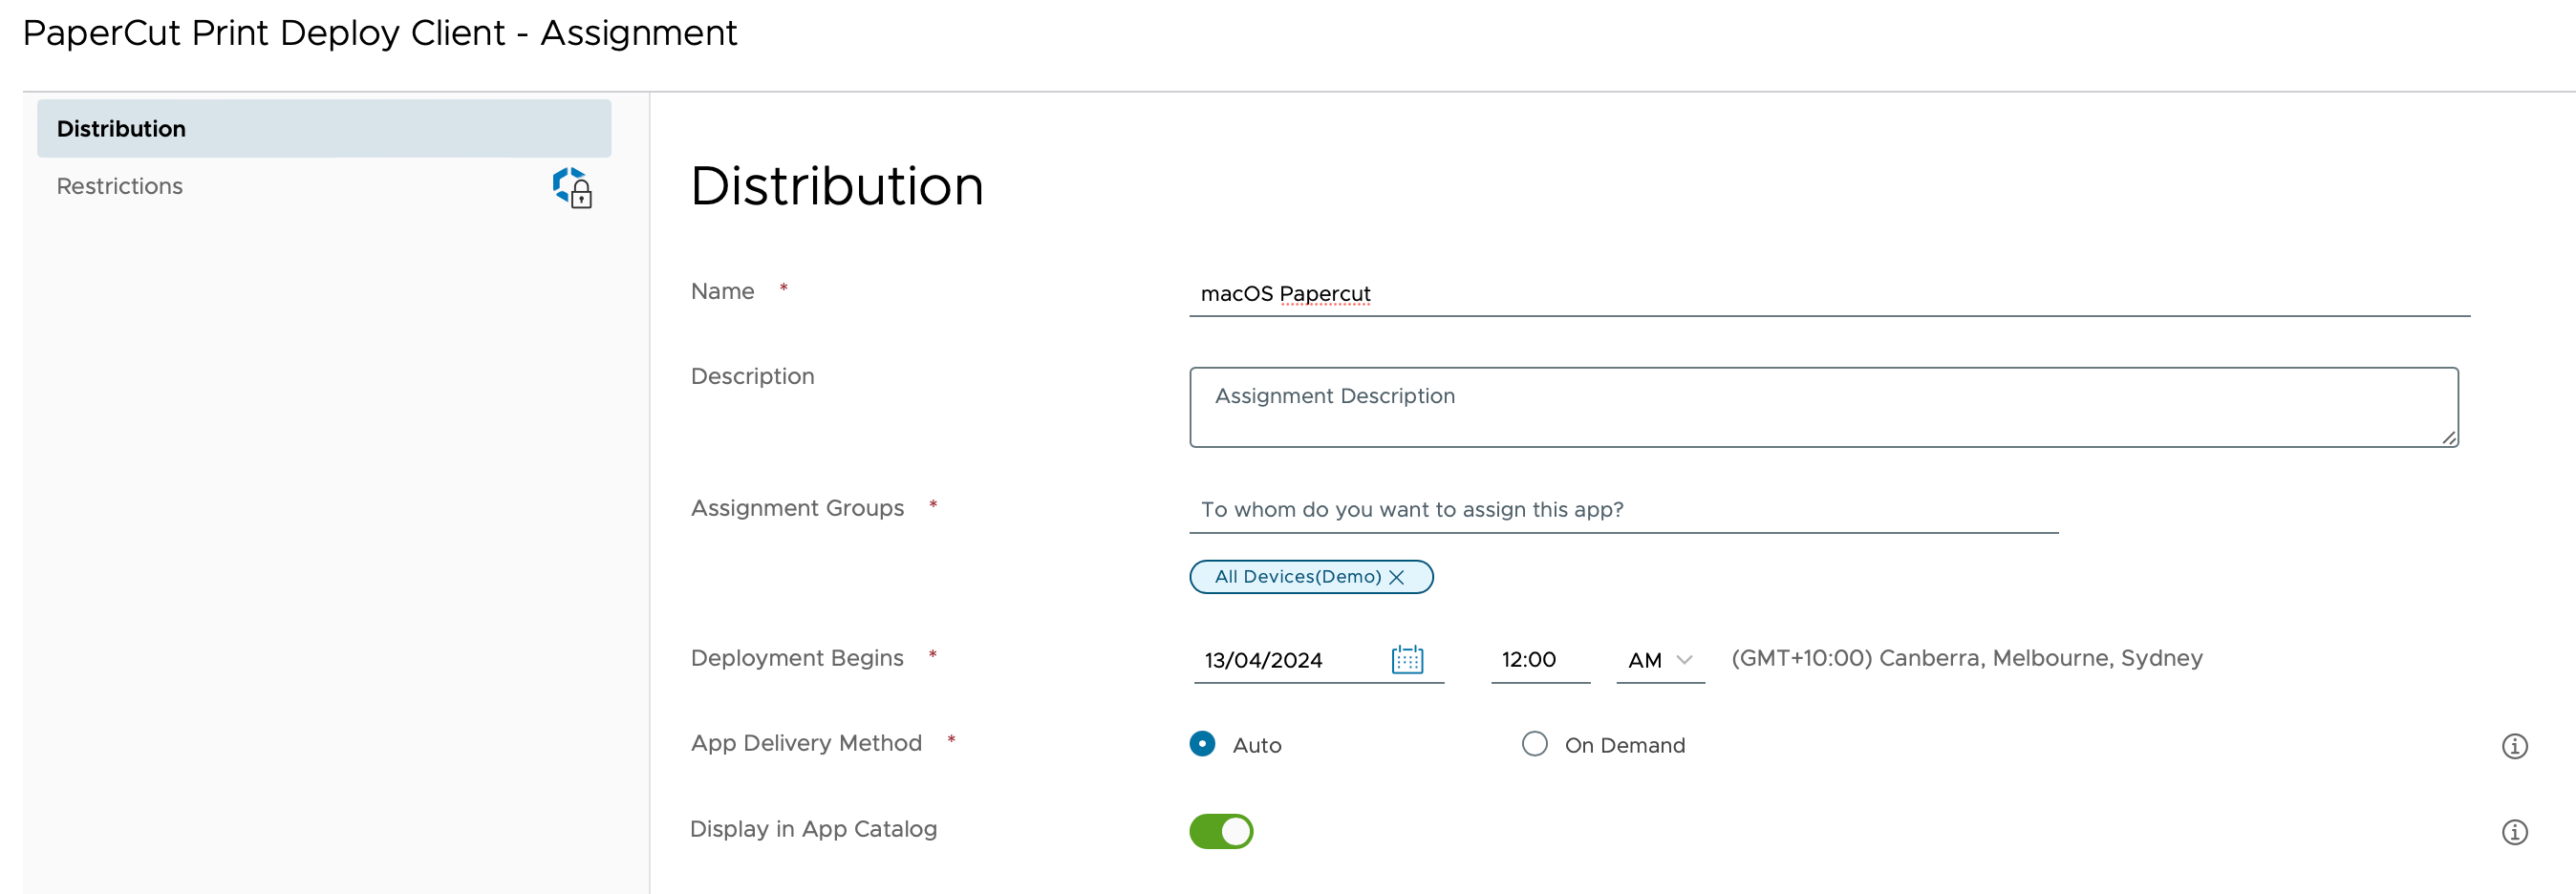
Click Create. Click Save
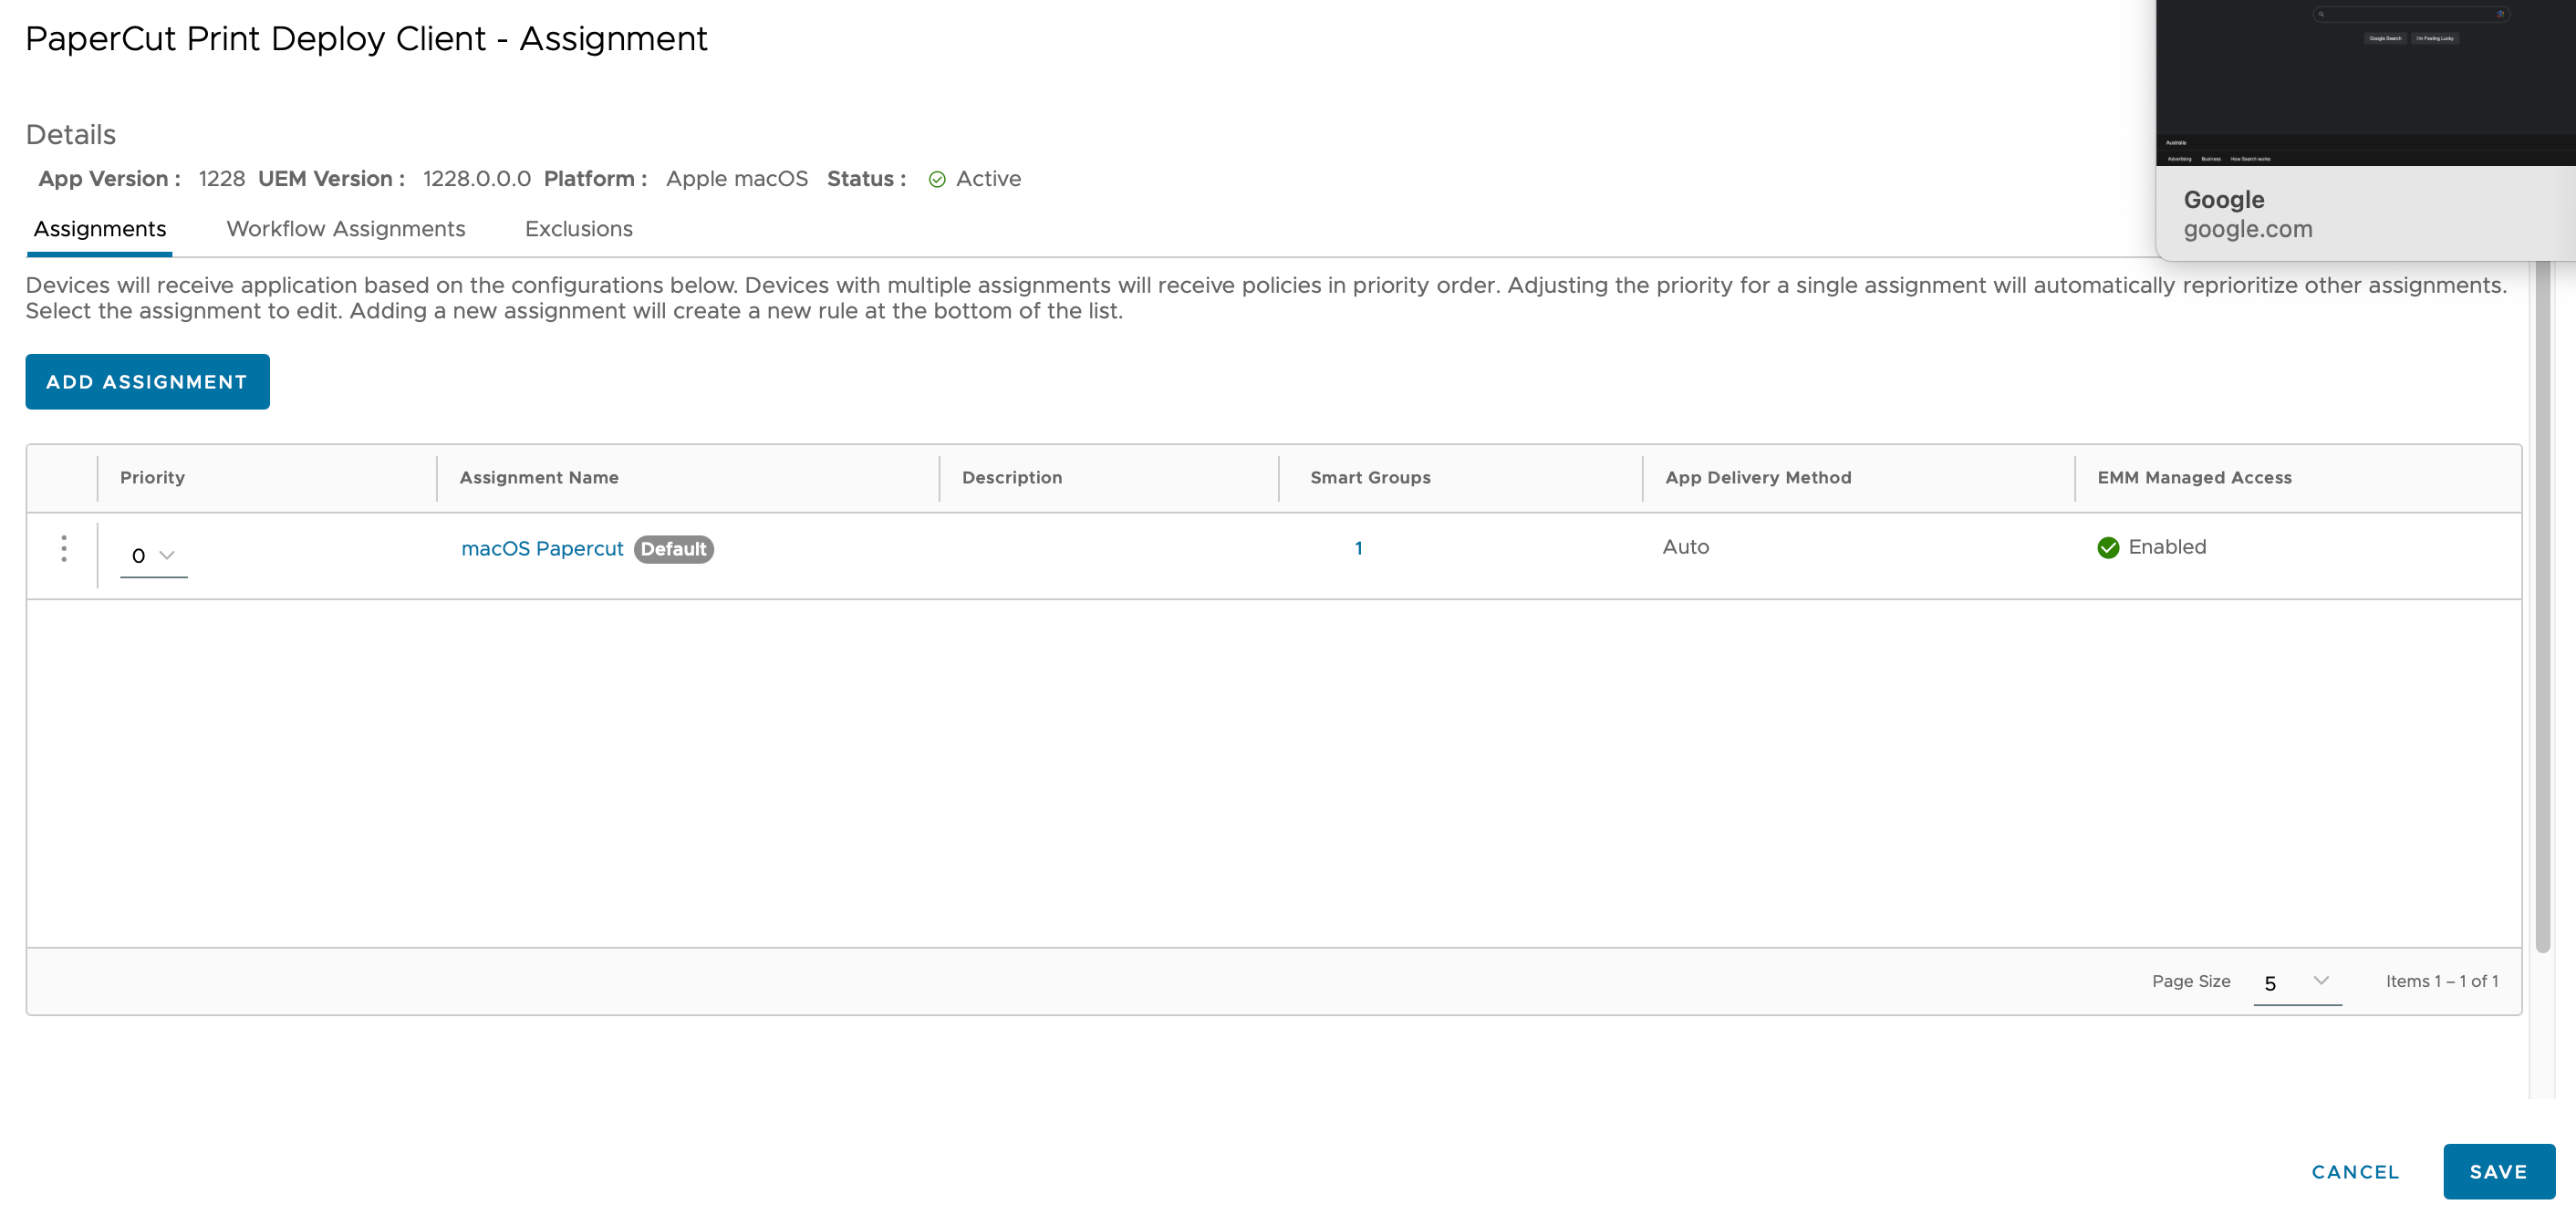
Review the list of Mac devices which will receive PaperCut and click Publish

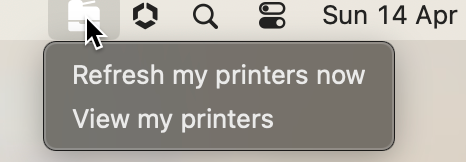
After a few minutes, PaperCut will be deployed to all of your Macs! You’ll see the PaperCut icon on the menu bar as shown.
That’s it!
The XML and Scripts are also saved in a text file here (in case of any issues with formatting above). We look forward to having these instructions added to the official PaperCut website in due course.

Hi! Thank you for sharing this blog; it’s a great resource. Were you able to print successfully? We’re having some difficulties with it and are looking for solutions. Any insights would be appreciated!
For my customer yes, they were able to print. I’d suggest contacting Papercut with a link here and ask for their assistance. Let me know how you go!