
Workspace ONE Launcher lets IT administrators design a custom home screen for Android devices. You can easily layout your applications and branding using the Workspace ONE UEM admin console. Once set up, the Launcher automatically replaces your regular home screen and enforces IT policies for both the device and apps. It’s designed with frontline workers in mind, but its flexible design can be adapted to fit any company’s needs.
Launcher also enables check-in / check-out (or CICO) functionality so users can log into Launcher and get access to only the resources assigned to them.
The purpose of this article is to detail how to enable this Launcher capability and leverage a popular Identity Provider (IdP) such as Okta or Entra ID (Azure AD).
Shared Device Settings
Your first task is to create a userid in your on-premises Active Directory (or in your IdP if you’ve setup Omnissa Identity Services) and ensure it’s synchronised with Workspace ONE UEM and Access.
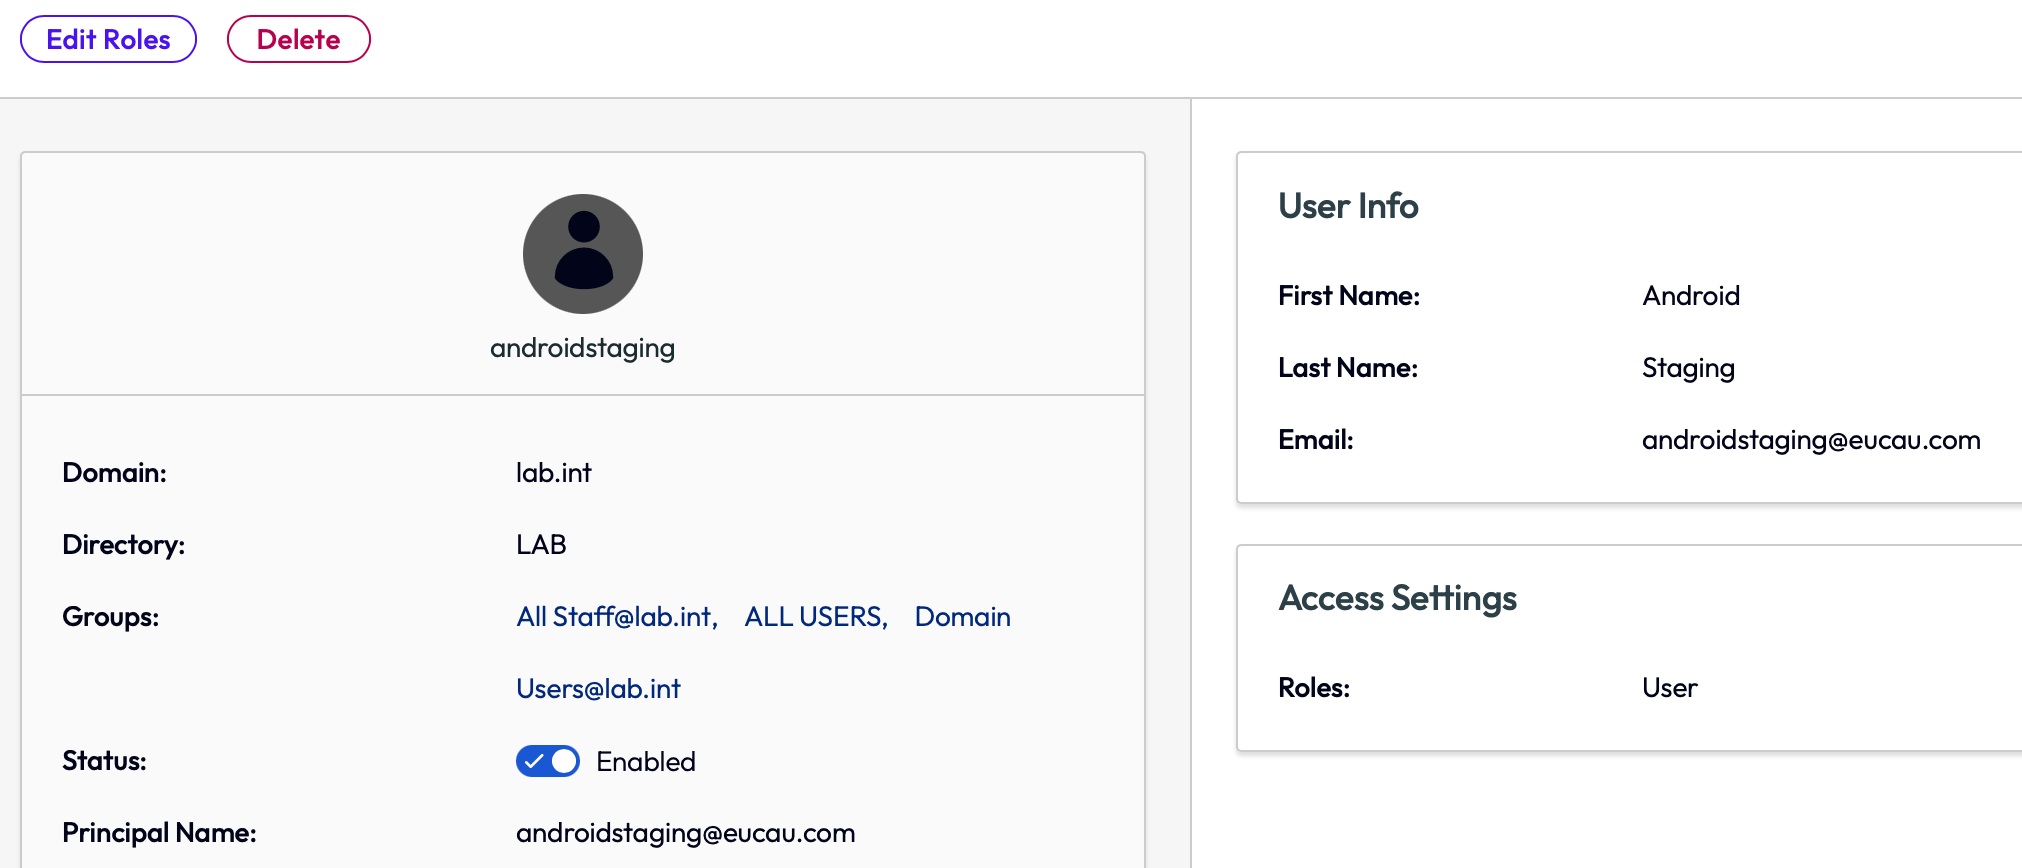
In my lab, I created a user called androidstaging as shown:

Here it is synchronized to Omnissa Access:
Now back to Workspace ONE UEM, select Edit – Advanced – scroll down to Staging and configure the settings as follows:
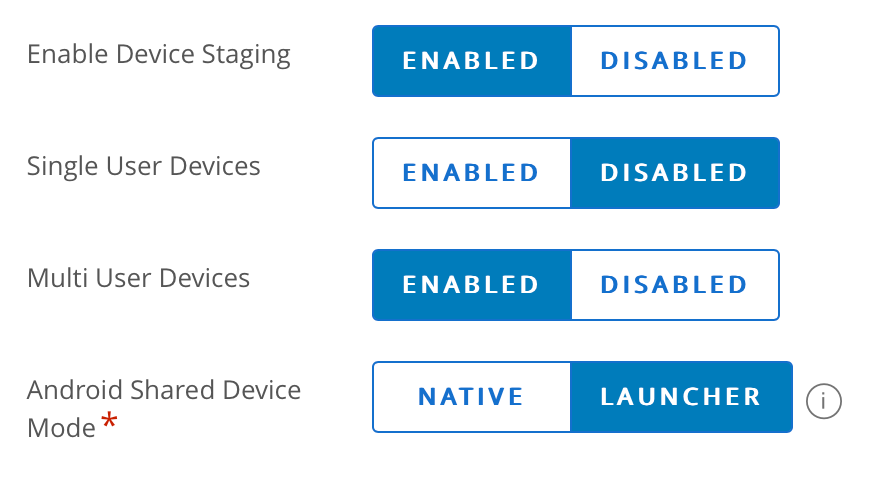
Click Save
Before proceeding to the next task, I’d recommend enrolling a test Android device in work managed mode using the androidstaging account.
Check the Launcher version that will be deployed to the device, by logging into the UEM console and selecting Devices – Device Settings – Devices & Users – Android – Service Applications. Select the version of Launcher that will be enabled on your devices as shown. Otherwise select Always user the Latest Version of Workspace ONE Launcher.

Create and deploy a new Launcher profile to the test device as shown:

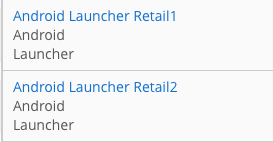
For my testing, I created two Launcher profiles which I assigned to different smartgroups. This is so I could have a different background screen and icons for two separate groups of users!
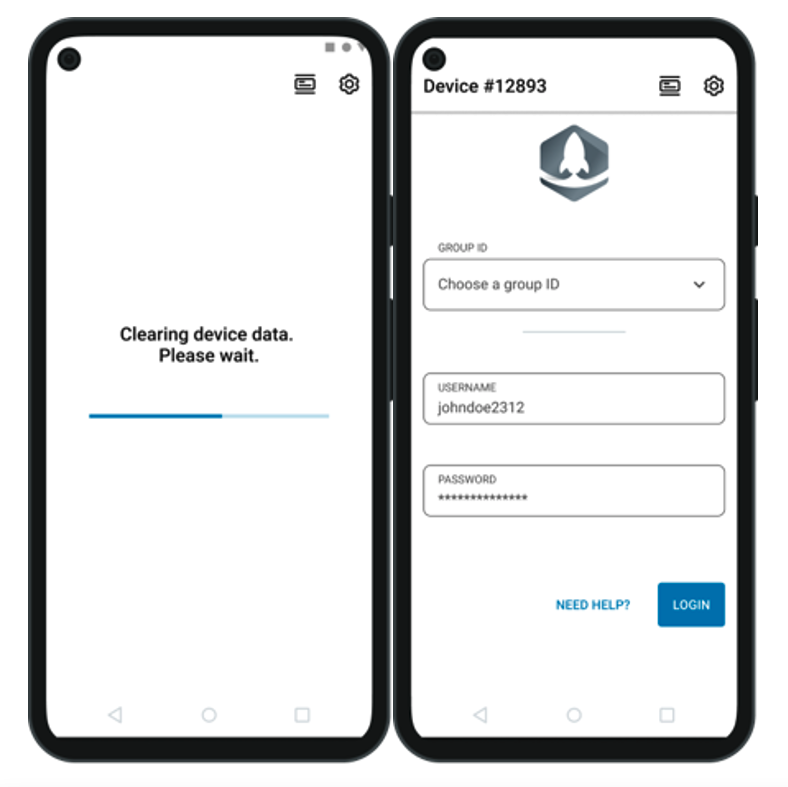
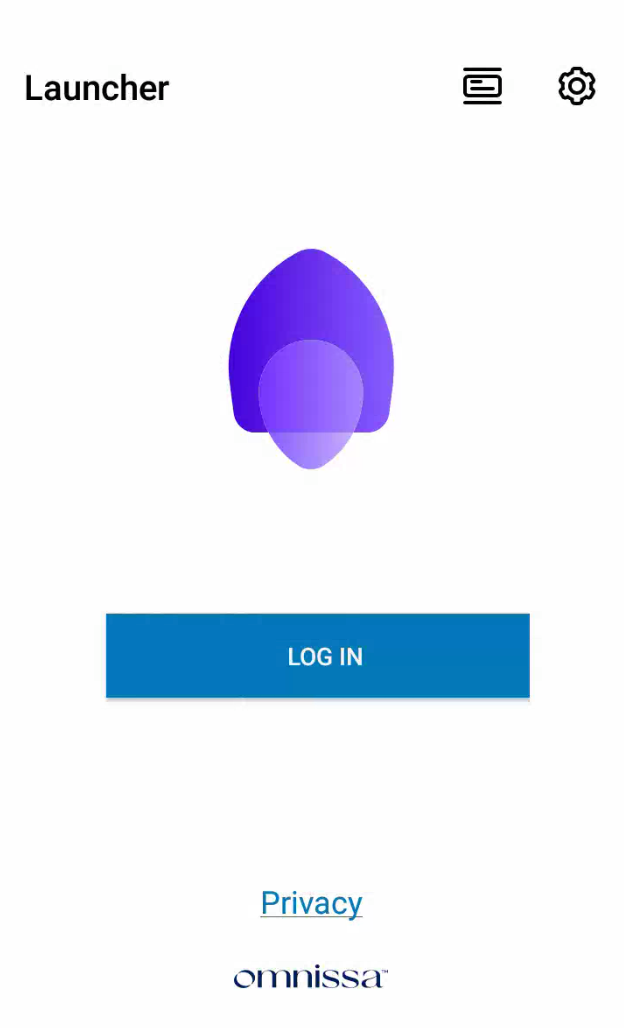
On your test device, the Launcher will start automatically. If CICO has been enable correctly you should see a blue button labeled Log In as shown:
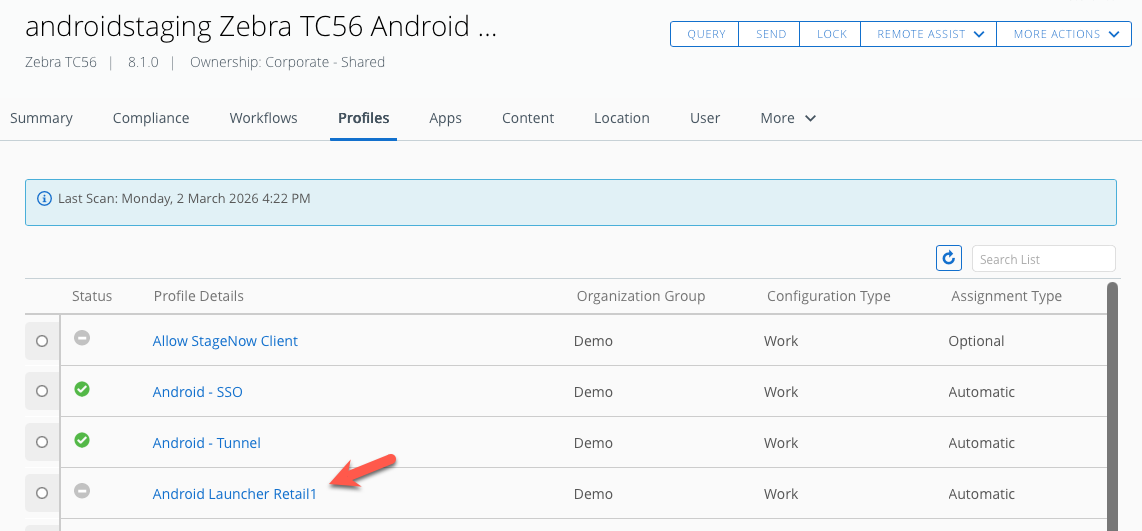
Test that you can login with some test user accounts. You’ll notice that when you login with a user from the appropriate smartgroup, you’ll notice the appropriate Launcher profile is automatically deployed as shown below:
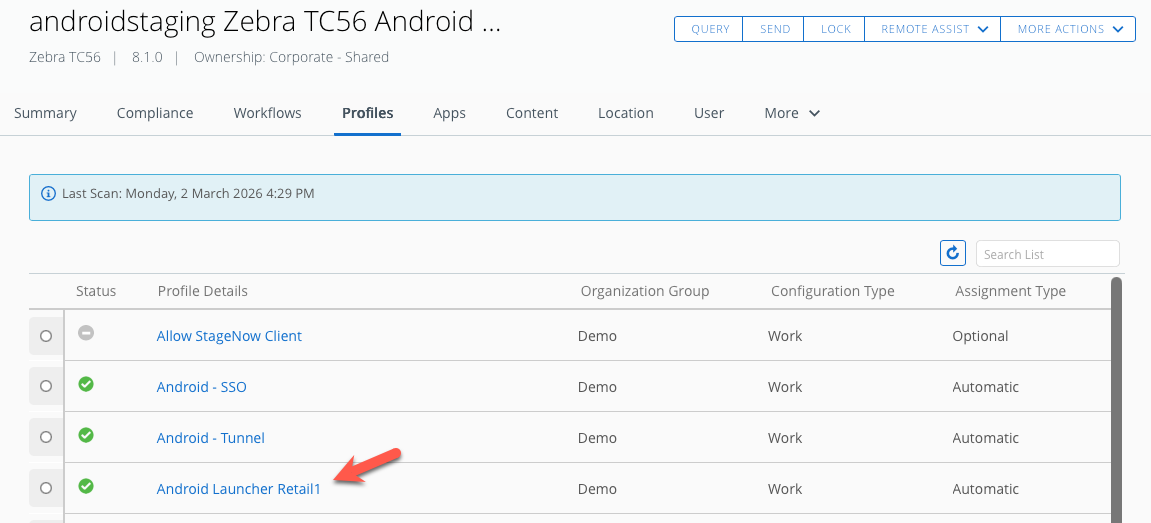
Then a few moments later, it will be successfully activated (green tick) as shown:
Source of Authentication
The next task is to configure Workspace ONE Access as the source of authentication. Select Groups & Settings – All Settings – Devices & Users – General – Enrollment. Scroll down and select the Source of Authentication for Intelligent Hub to Workspace ONE Access as shown:

Federate Workspace ONE Access with Okta
To federate Workspace Workspace ONE Access with Okta, please see the step by step instructions in this article titled Configure Okta as an Identity Provider for Omnissa Workspace ONE Access.
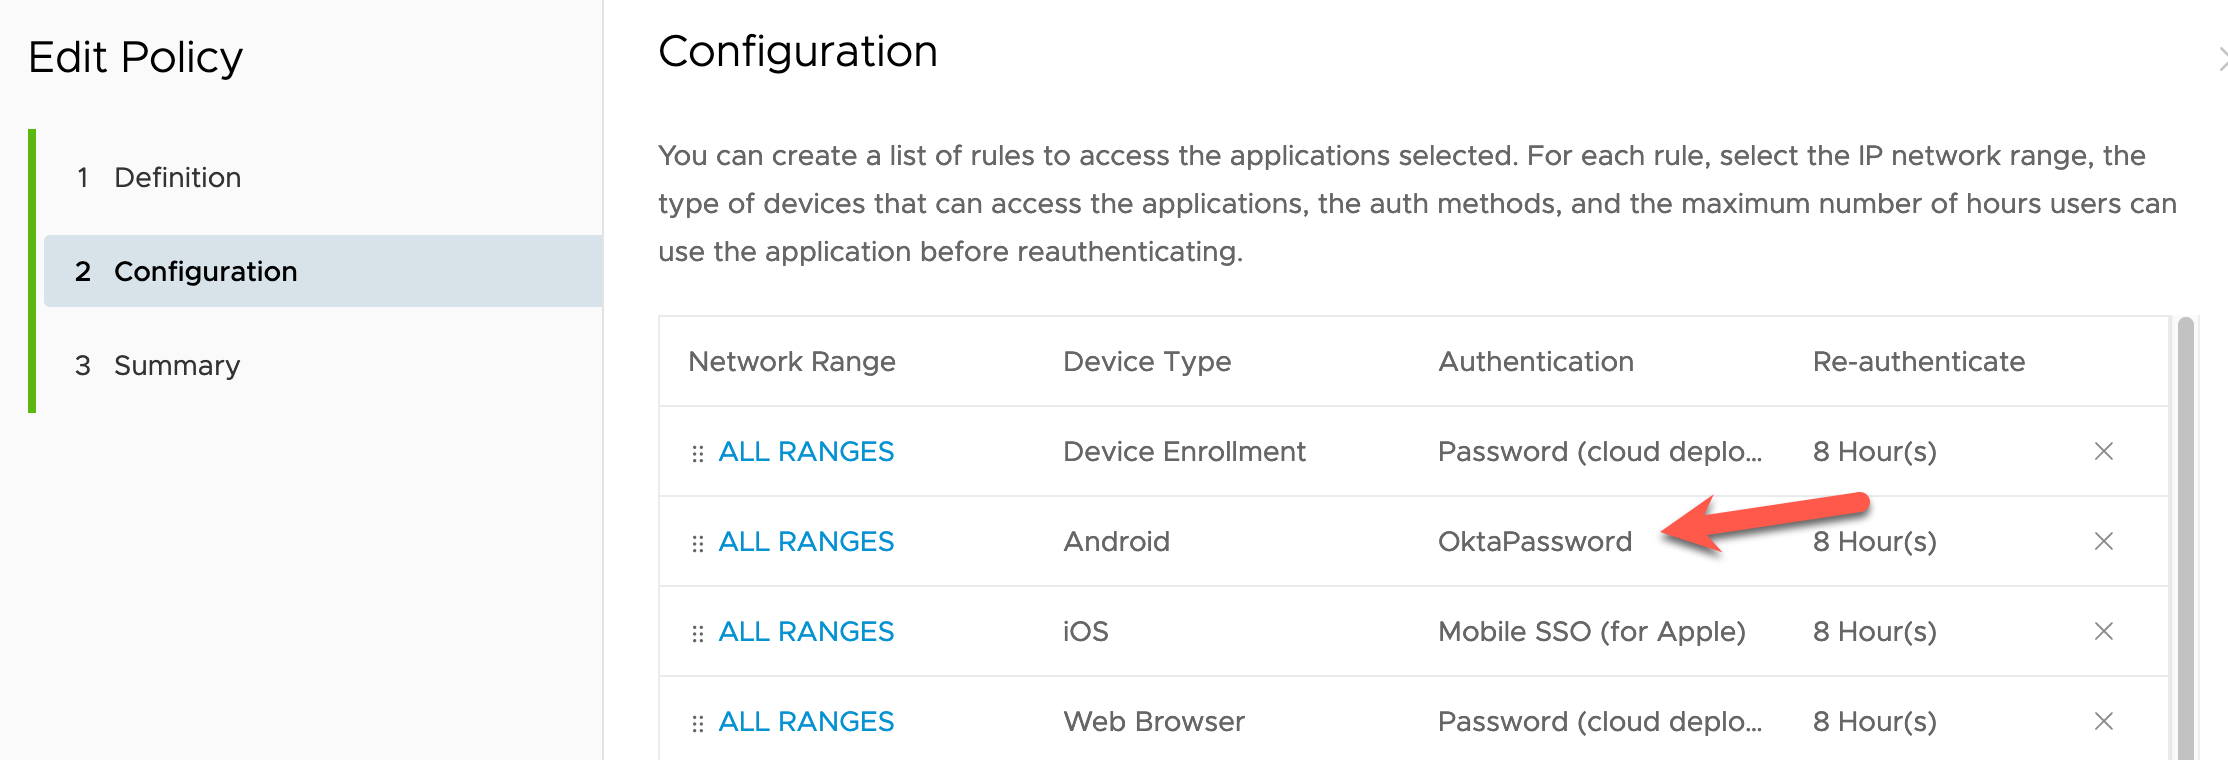
It’s important to set the Authentication policy for Android devices to Okta as shown in my lab:
Now test the CICO experience using Okta. It should look something like the following (YouTube video)
Federate Workspace ONE Access with Entra ID
To federate Workspace Workspace ONE Access with EntraID, please see the step by step instructions in this article titled Integrating Workspace ONE Access with Azure AD.
It’s important to set the Authentication policy for Android devices to Entra ID as shown in my lab:

Now test the CICO experience using EntraID. It should look something like the following (YouTube video):
Enable Frontline Workers Add-on
Workspace ONE Intelligence balances user experience with robust security. It gathers data from various sources to provide a comprehensive view of your entire digital workspace.
For for Android rugged fleet, it provides a range of information on the health of your devices, Launcher application performance and user experience, Lost device Prevention and battery health.
To activate these dashboards, open the Workspace ONE Intelligence console and select Marketplace. Then select Solutions – Experience Management. You can then enable the Frontline Workers Add-on as shown.

Select Dashboards and select Frontline. There are a number of dashboards you can easily add to Intelligence. I’d suggest adding Shared Devices and Launcher Metrics for Shared Devices.

Select Workspace – Dashboards.
Review the dashboards you’ve just added. Here is some screen captures from my lab.

If you click View, you’ll see a range of dashboards which shows some interesting information on the CICO times for your users.

OK that’s it! You’ve now setup Check-in Check-out for your end users using either Okta or Entra ID.
Updates
- 21 February 2026 – Updated some screen captures and fixed broken YouTube video links.
- 2 March 2026 – Updated with CICO multiple profile information.

1 Comment